(Last updated on: March 16, 2021)
Note: this section is for Wintix – the desktop interface. Webtix has an HTML interface to do the same work.
First step: Add the show and a performance
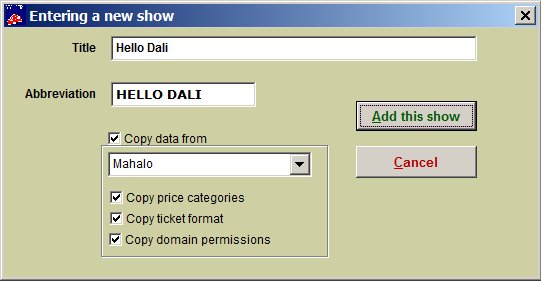
- Click on Show | Utility | Add a new show.
- Add the title of the show and the abbreviation.
- Then, click on the Add this show button.
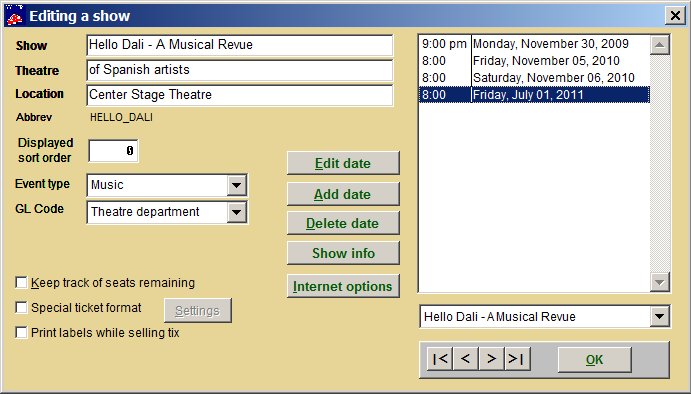
- You will now be editing a show. Fill in the information as is appropriate for the show.
- At this point, you will probably want to click on the Add date button to add the performances and prices. Once you do that, the show will be available for sale in Wintix.
- To put the show on sale in Webtix, you need to tell the program that Webtix can sell the show.
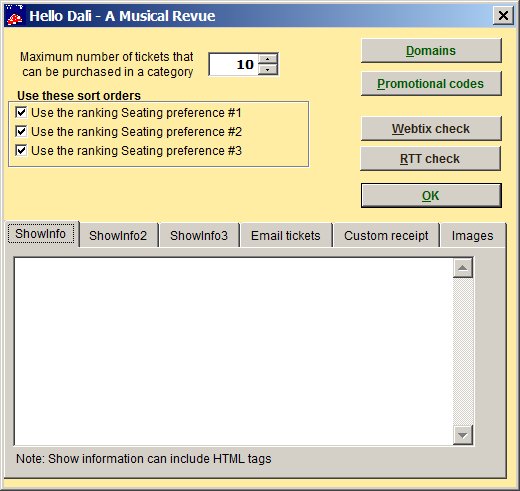
- Click on the Internet options button. The Internet options window appears.
- There are several options here – all dealing with Webtix.
- Set the maximum number of tickets that can be purchased in a category to an appropriate number (10 is the default).
- Then, click on the Domains button.
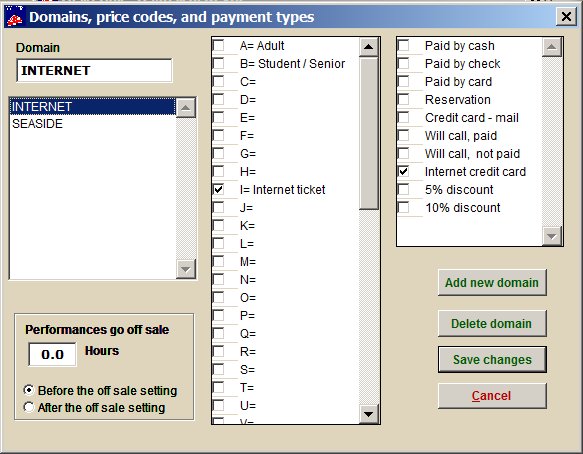
- For the show to be on sale, you must have INTERNET in the list of domains.
- You also need at least one price and one pay type selected.
- When you are done, click on the Save changes button.
- At this point, the show should be on sale in Webtix.
There are some reasons the show may not be on sale:
- The performances may not be set up properly (check each performance and make sure that the on and off sale date and time is correct.)
- There may not be seats available (check if you have a chart and the seats remaining field has the proper number).
- Each performance has a checkbox, Exclude from internet sales. If this box is checked, the performance will not be available for internet sales.
- Hint: If you cannot figure out what is the problem, try selling a ticket in Wintix. Often that will illustrate any discrepancies.


