(Last updated on: January 16, 2019)
There are two ways to print a receipt during a sale in Wintix.
You can make it a global setting or choose to print a receipt during a sale.
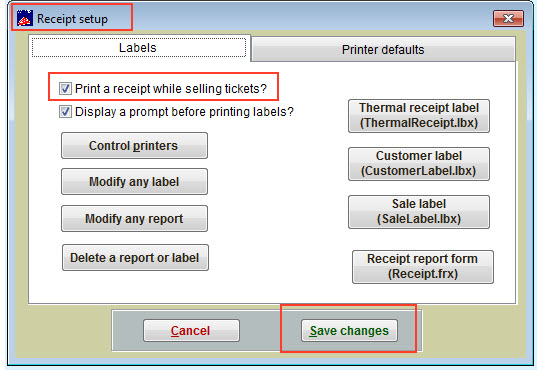
- To make it a global setting, go to File | Label and receipt setup | Print a receipt while selling tickets? | Save changes.
- Then go to File | Ticket Delivery Methods (TDM)
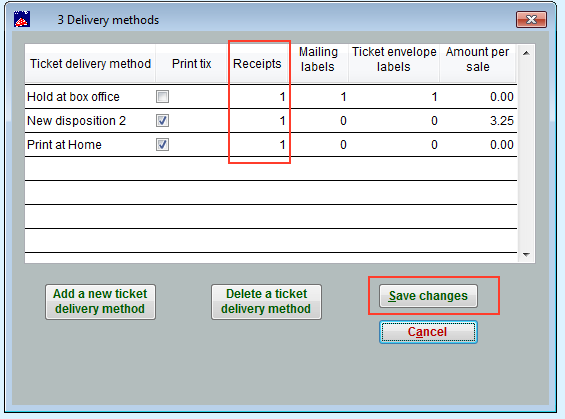
- Enter the number of receipts you want to print for each ticket delivery method you’re using
- You will also see a column for printing tickets, labels, envelopes and a column for fees that you may want to attach to a ticket delivery method
- Save changes
Wintix will now prompt you to print a receipt for each sale done depending on the ticket delivery methods that have a number greater than zero in the Ticket Delivery Method setup.
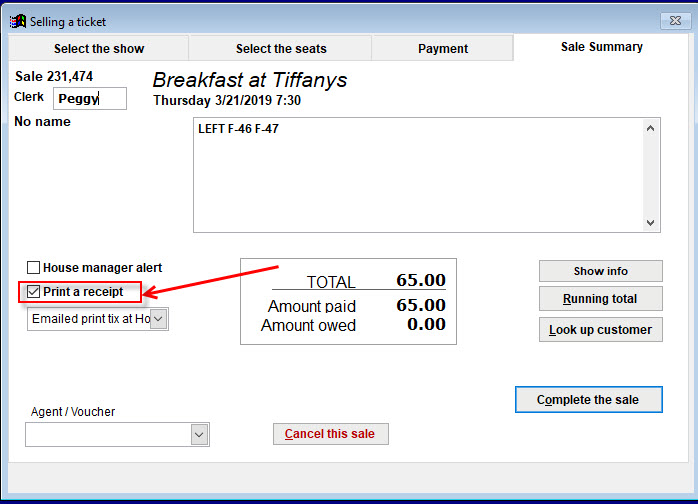
Here is how that looks in Wintix 6:
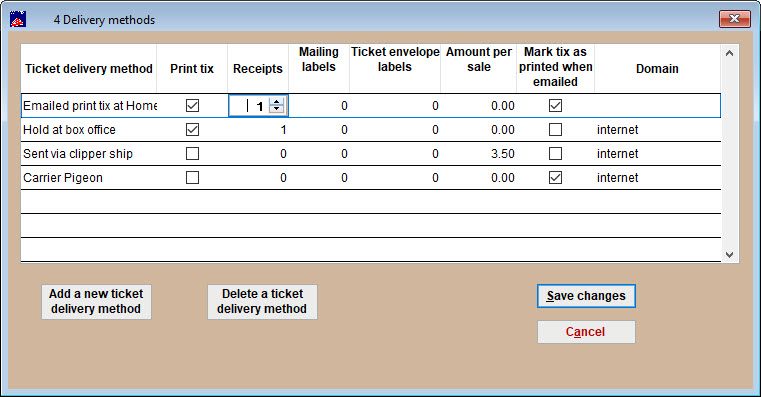
- Notice you can choose to mark the ticket as printed if it’s emailed.
- Here is how it looks in Wintix 5:
You can also choose to print a receipt while making a sale.
- In Wintix 6, the check box is found on the Sale Summary tab.
- In Wintix 5, the check box is on the Finish the sale tab.
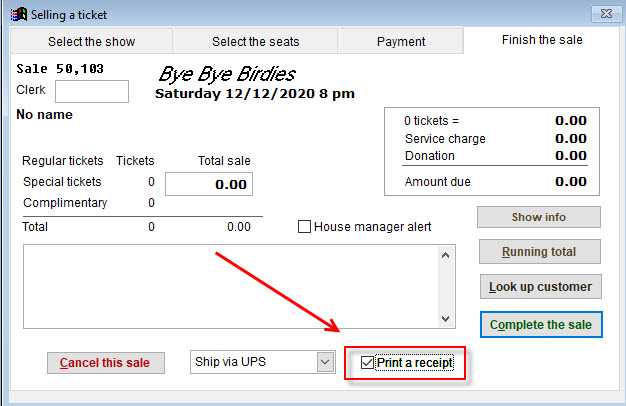
- If that box is checked by default (as above), then Wintix will always bring up the receipt window.
- If the box is NOT checked by default, you can choose to check it at the point of sale, on the Sale Summary tab.
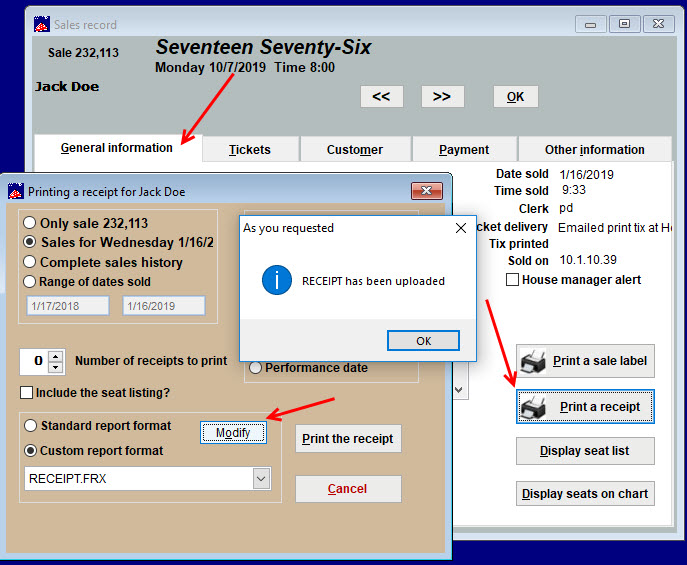
- NOTE: If you are printing a receipt from a sales record, go to Sales | Sales records and find the correct one.
- On the General information tab, click the Print a receipt button. The Printing a receipt window will appear.
- Make sure the latest version of the receipt is uploaded to the server – right click the Modify button and you’ll get a message that it has been uploaded.