(Last updated on: April 2, 2024)
For this tutorial, we will use the 12/24/23 performance of “An American in Paris.”
- You will need to have two seating plans.
- One is a regular seating seating plan for your reserved seats.
- The other seating plan is for your GA (general admission) seating plan. Since you don’t have real “seats” just create a grid with the correct number of GA seats in it.
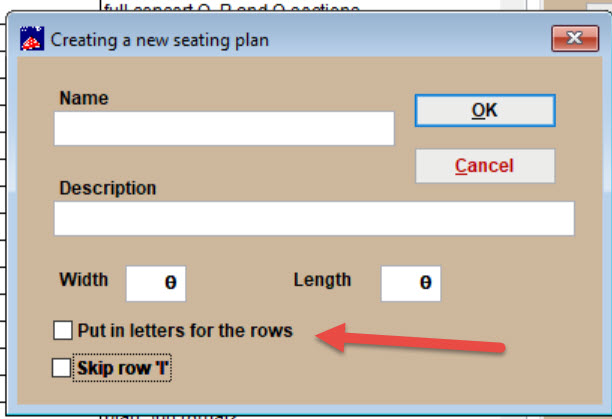
- IMPORTANT! When you create your GA plan: make sure Put in letters for the rows is unchecked.
-
-
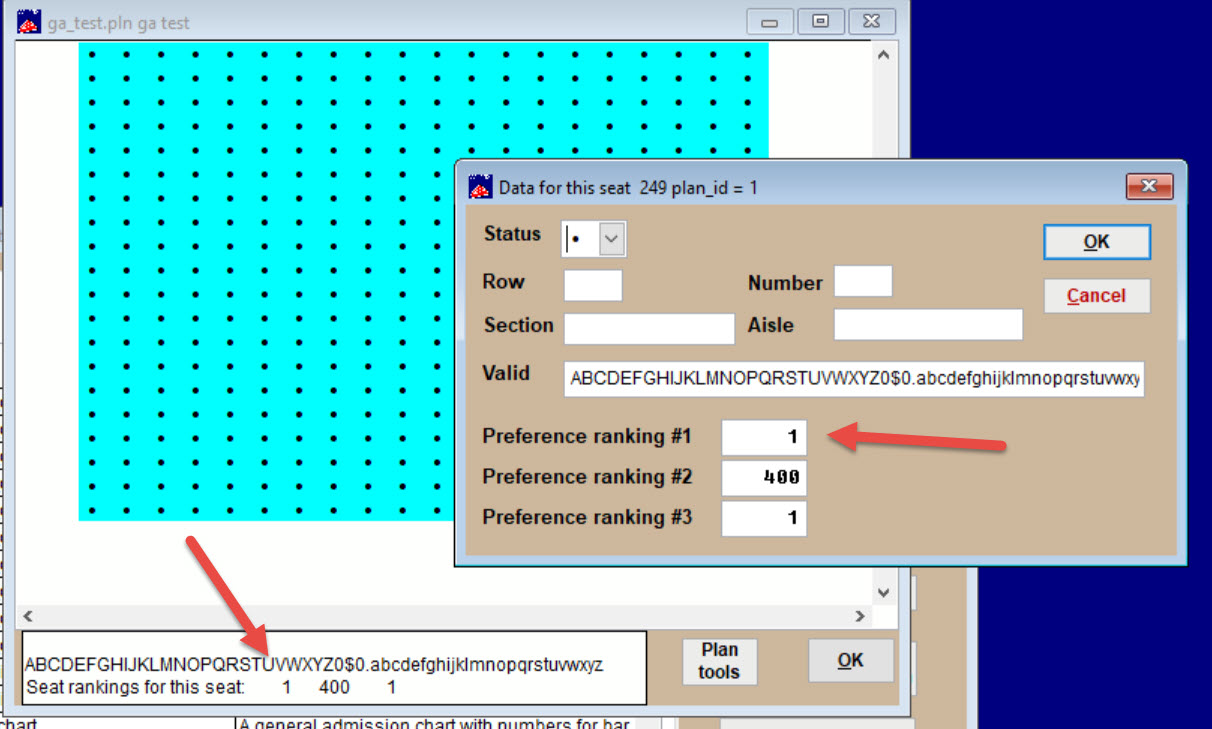
- With the GA seating plan open, click on the top left seat and enter 1 for the Preference ranking #1.
-
- The numbers following #1 will ripple all through the seating plan. The last seat ranking number should be the total capacity of the GA seating.
- Now, you need to attach both seating plans to the show.
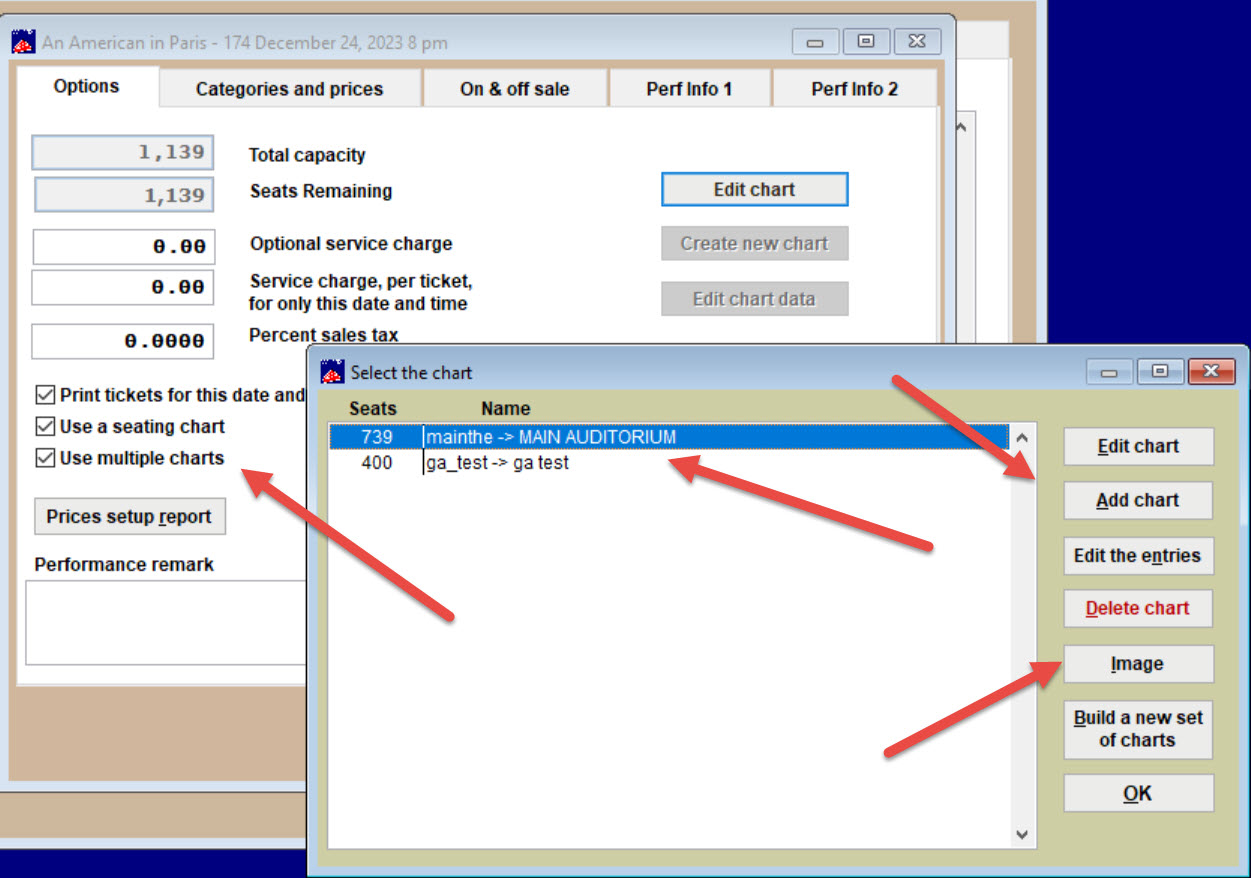
- Go to Show | Edit a show | Double click the performance.
- Check the Use a seating chart and Use multiple charts boxes.
- Now click the Edit chart button.
- Attach the charts by selecting Add chart and following the prompts.
- When someone chooses a seat online, you want them to pick out their seats on the reserved seating chart, but you want them to only select the number of seats if they choose GA. You do NOT want them to see that seating plan grid for GA because that would confuse them.
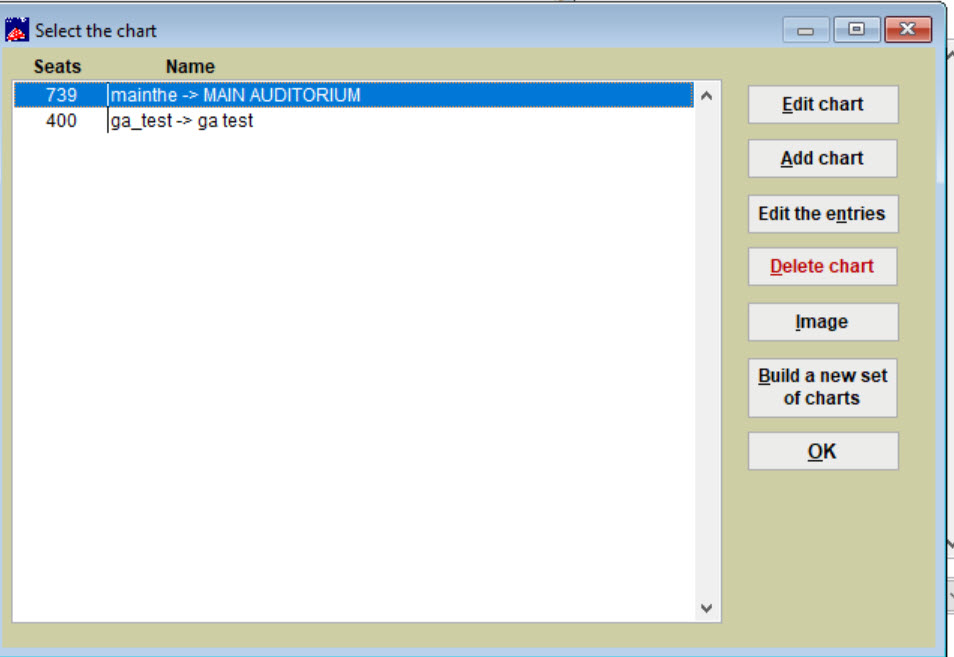
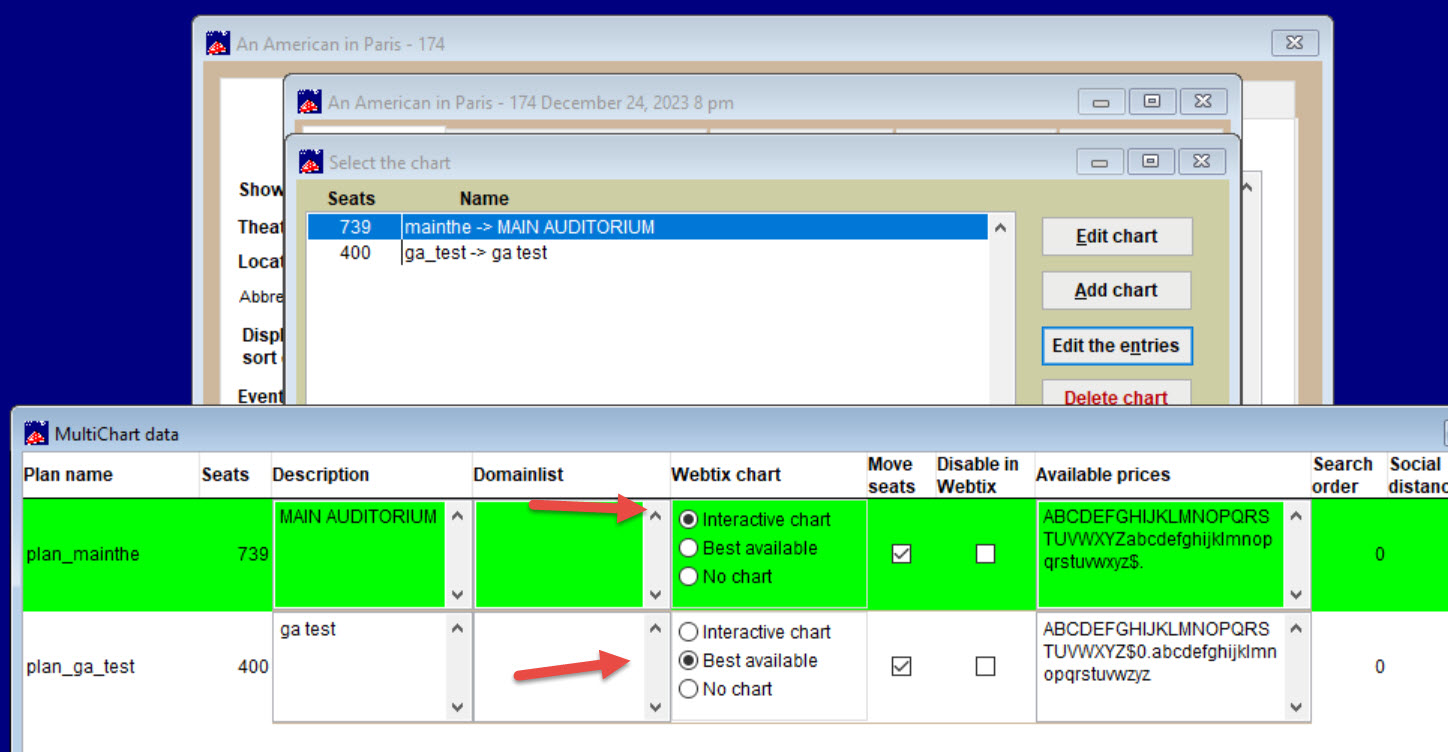
- Now, click the Edit the entries button.
- In the Webtix chart column, click the Interactive chart radio button for the reserved seating chart.
- Click the Best available radio button for the GA tickets.
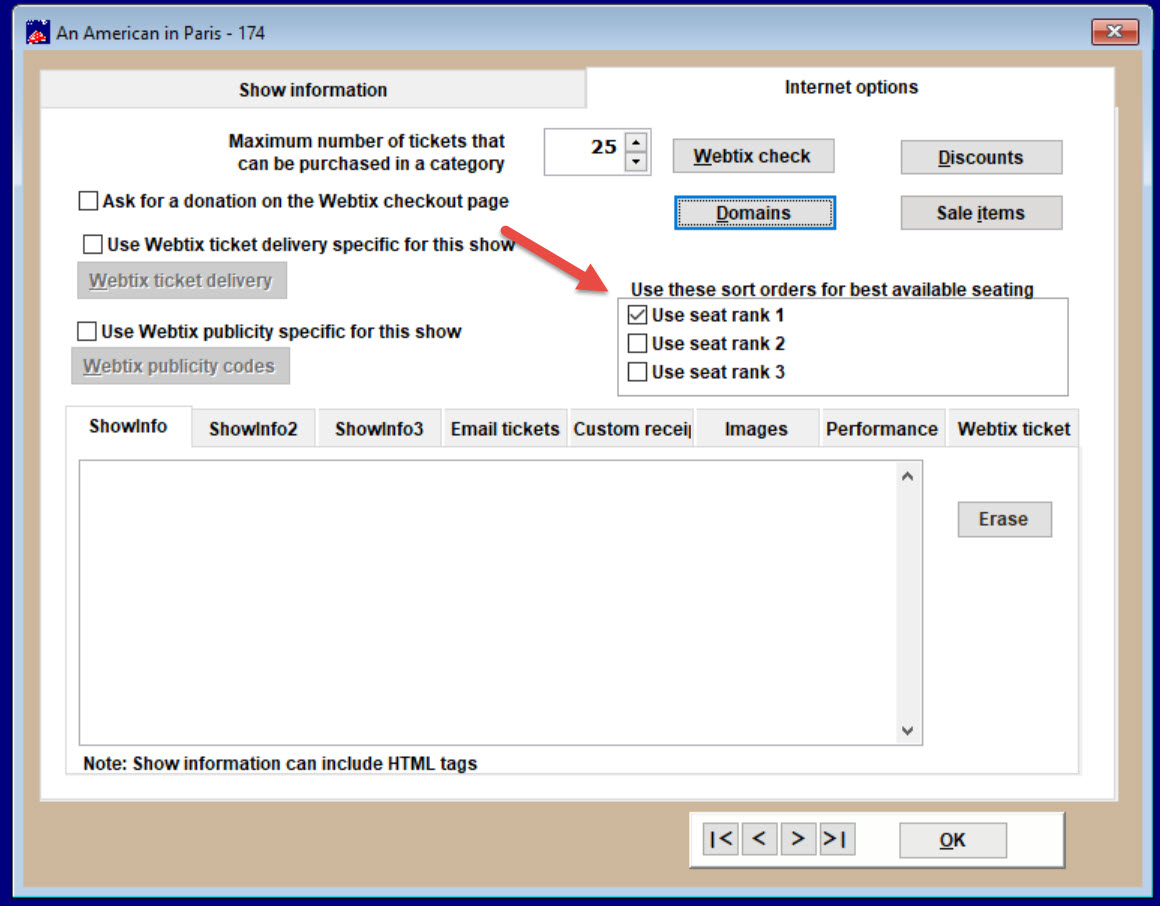
- Finally, go to Show | Edit a show | Internet options. Under Use these sort orders for best available seating, check the Use the rank 1 box.
- When a patron buys a ticket online, they will see a graphic and instructions on where to click, depending on what kind of ticket they want to buy.
- PLEASE NOTE: you can read about graphics and mapping here. Usually, it is best to let us perform these functions for an affordable fee.

