
(Last updated on: November 3, 2021)
Barcodes are simply a machine-readable font. However, generating them is a little different. There are three ways:
- Windows fonts.
- Native fonts inside the printer.
- Generated images.
If you have a choice, using the native fonts in the printer is best. These fonts are smaller and print faster than any other method. However, not all printers have them (HP laserjets and inkjets, in particular). Getting the printer to print bar codes means using font substitution. Generated images are almost as good. Windows fonts are the most problematic. Don’t use them.
NOTE: The old “1D” barcodes, still work. They do use a different .dll. Contact us for that dll (it’s free) and the instructions.
Here are the instructions to generate the image to print on the ticket.
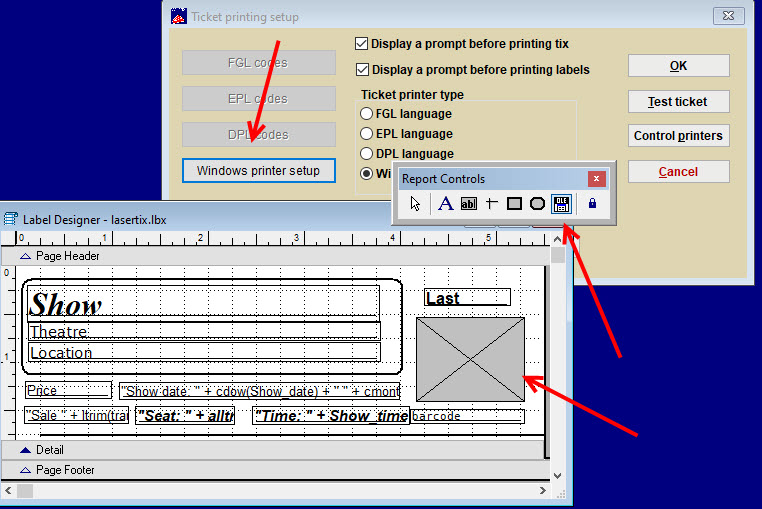
- Click on File | Ticket setup | Windows printer setup.
- Click on the black and blue OLE button on the toolbar (usually at the top of the screen). The button will stay highlighted.
-
-
- Draw a rectangle where you want the QR code.
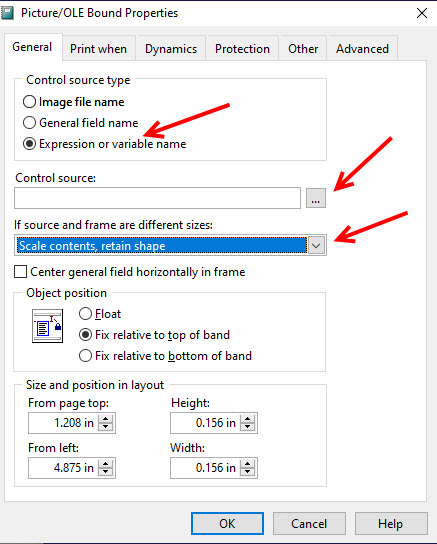
- The Picture/OLE Bound Properties window will appear.
- Under Control source type, select the radio button Expression or variable name.
- In the dropdown menu under If source and frame are different sizes, select Scale contents, retain shape.
-
-
- In Control source, click on the square button with the ellipsis.
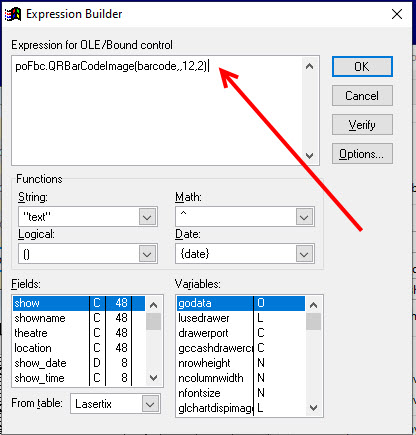
- In the next window, enter this text:
poFbc.QRBarCodeImage(barcode,,12,2)
It will look like this:
- Click OK.
- The Control source now displays this:
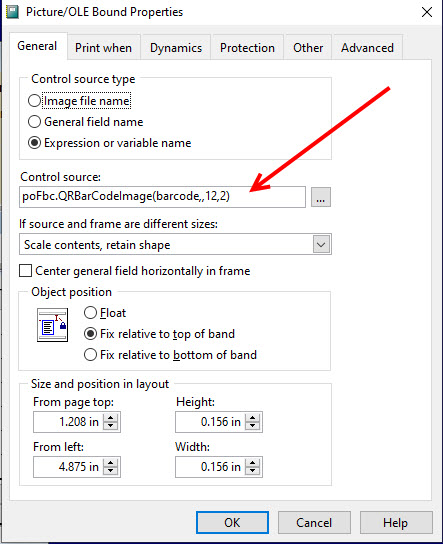
- Click OK and you will be back to the ticket format. You are done.
- Size notes: Size of the QR code depends on your scanners and printer. It requires some testing. Generally speaking, 3/8” square will barely work. ½” square is generally a good compromise. You may need to go to a larger size for fast, accurate scans.
- The response from ScanTix should be less than a second.
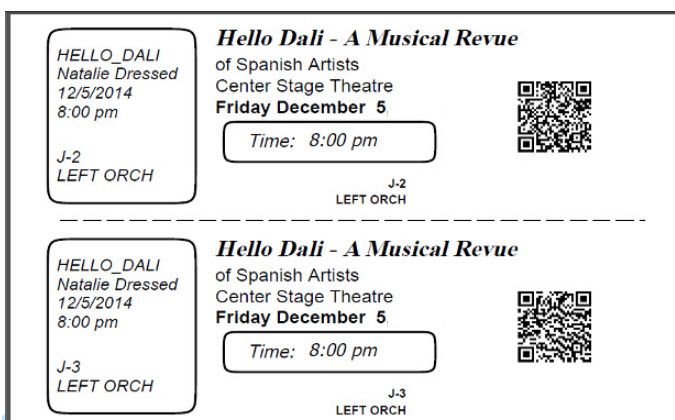
- Depending on your printer, your tickets will look something like this:
- If you need to remove the image, just highlight it and click your delete button.