Click this link to download the RT200i printer driver.
Now that you have downloaded the driver, follow these instructions to set up the driver
To setup your printer to print thermal tickets, make the following changes in the Seagull driver. This requires Administrator logon to the PC.
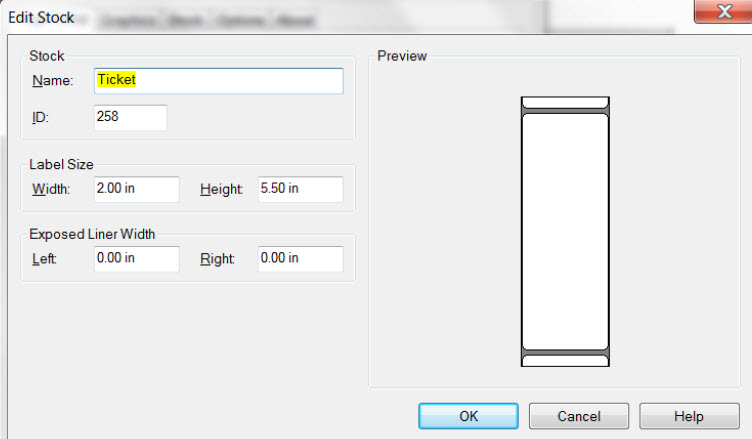
- In Printing Preferences, create a new stock.
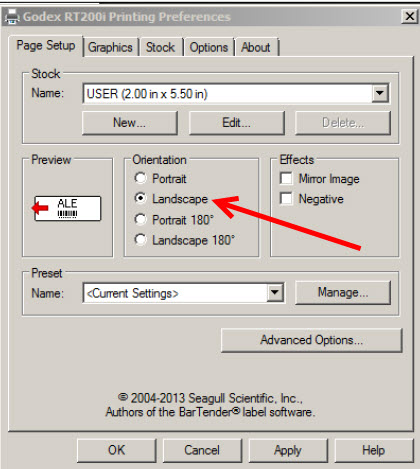
- Set the orientation to Landscape.
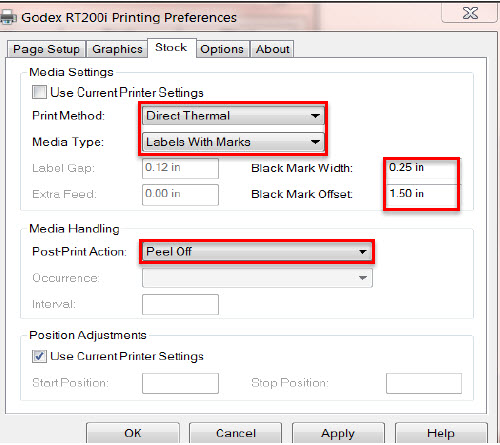
- Change the Stock tab to these values.
- Go to Driver Properties | Advanced tab | Printing Defaults. Enter the same settings.
Loading tickets
- On the bottom of the tickets you will see a black mark for calibration and an arrow which is pointing in the direction in which the tickets should be feeding through the printer. Make sure that side is facing down and the blank side is facing up.
- Load the ticket stock in the slot in the back of the printer.
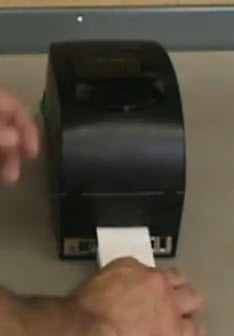
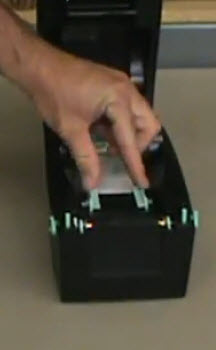
- Unlatch the printhead mechanism as shown.
- Open up the ticket stock guides, place stock in, and secure firmly but also make sure stock can move freely through the printer.
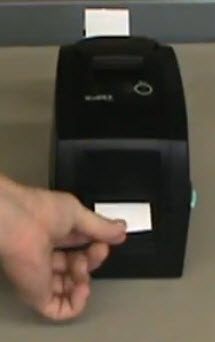
- Lock the mechanism in place with a bit of ticket tail hanging out, close the cover and you’re done! Happy printing!

