(Last updated on: July 6, 2022)
Many times shows or performances that would be covered by a season package have their own specific seating plans. When creating a season package, it is important to take those different seating plans into account. Below are instructions for creating a new season package for this situation.
- Go to Show | Utilities | Add a new season package.
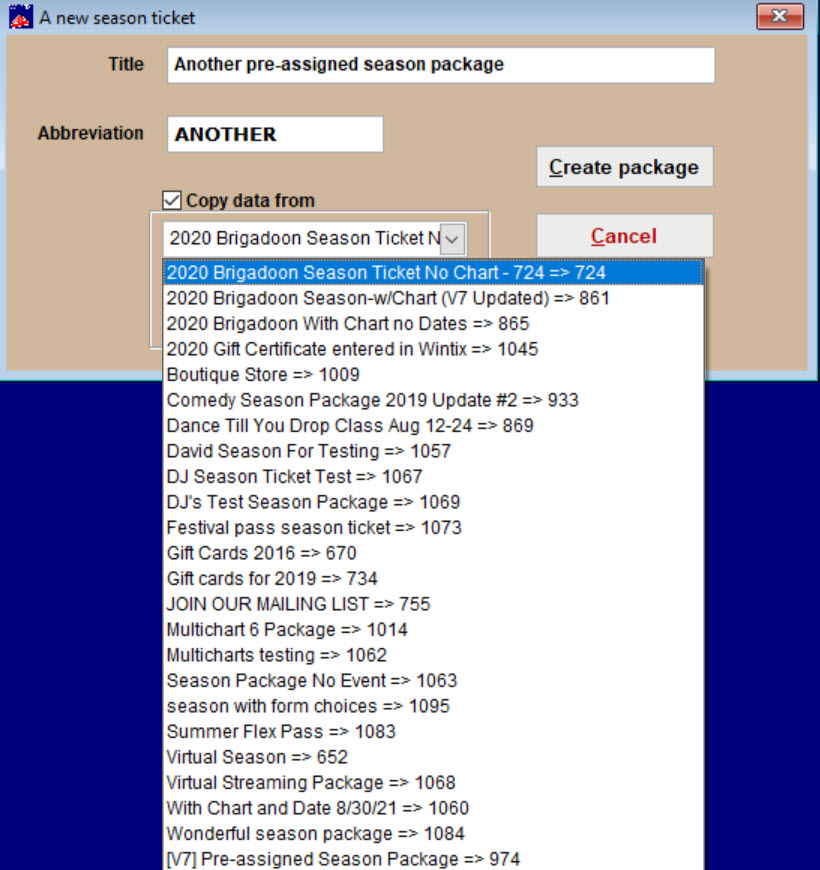
- After opening the Add a new season package window, fill in the information. If you have a season package identical to the new one in terms of pricing, codes, or internet options, you can select the Copy data from checkbox and select the Season Package.
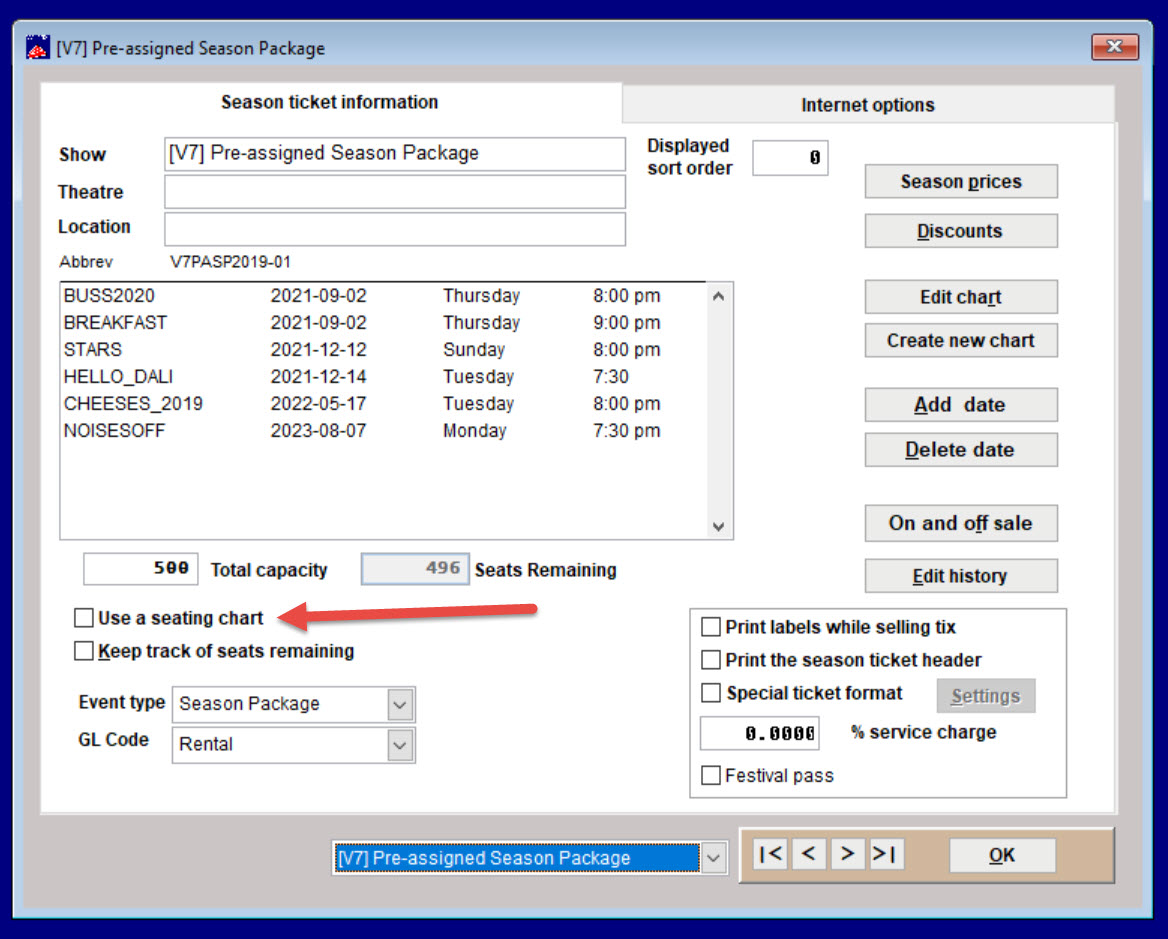
- In the Editing a season package window fill in the pertinent information, but be sure to NOT select the Use a seating chart checkbox.
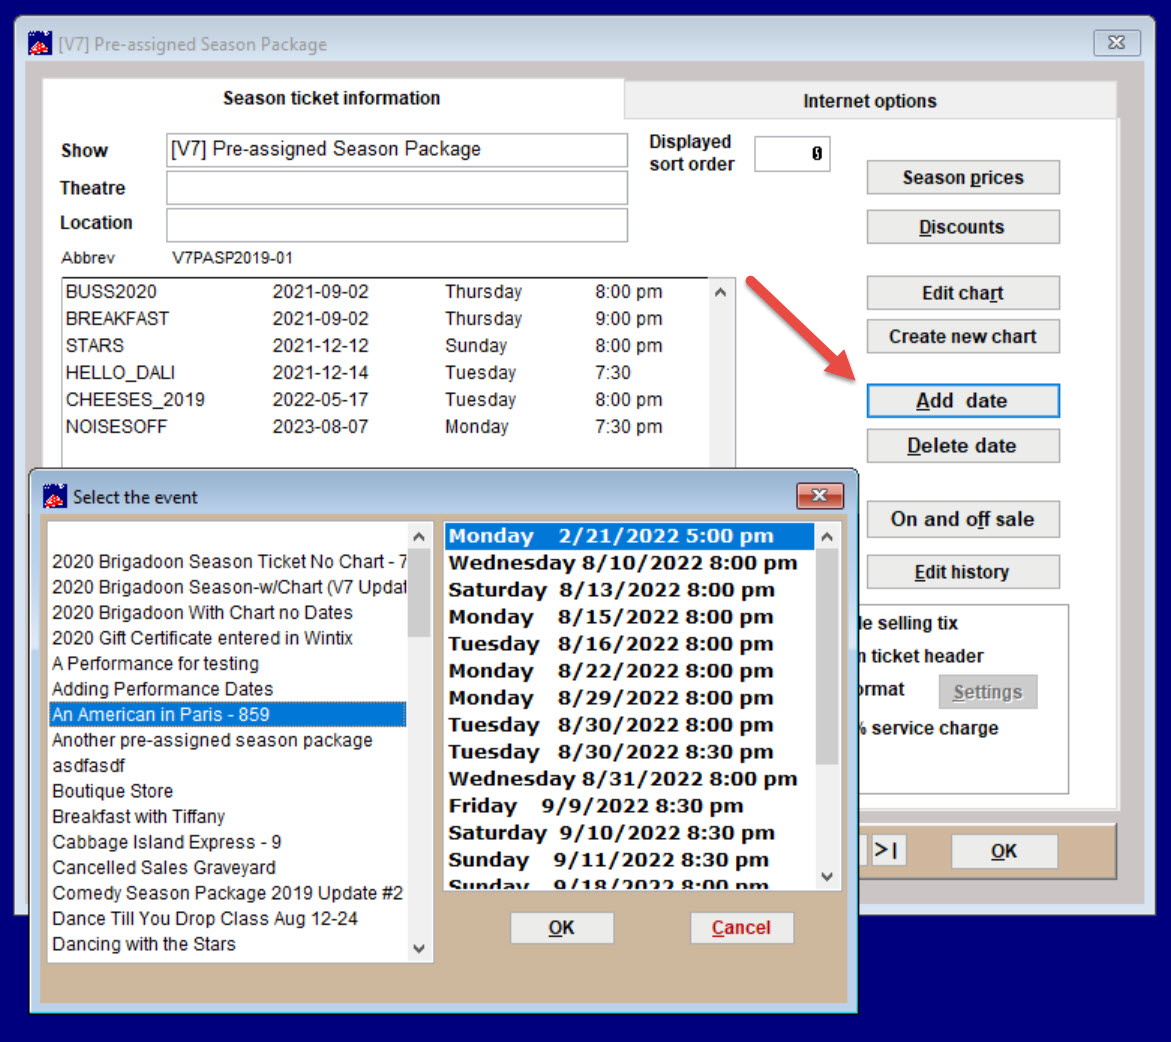
- If the season package has specific performances attached, you can now add those by clicking the Add date button. Remember that the order in which dates are added will be the order that seats are selected and tickets are printed.
- When you have filled in the necessary information and added any performances specific to the season package, click OK.
- IMPORTANT: Without a seating chart attached to the season package, Wintix will prompt you to enter the seats desired for each performance at the end of a season ticket sale. If two shows back to back (for example, first performance selected and second performance selected) share the same seating chart, Wintix will place the tickets for the second performance in the same seats chosen for the first performance. If those seats are not available, Wintix will prompt you to choose different seats. For each performance that presents a new seating chart, Wintix will prompt you to choose seats.
- Tip: If each show is in the same space with the same seating chart except for tiny changes (i.e. seats unavailable because of a sound board or stage extension), you might find it easier to use the same seating chart for all shows and simply take out the unavailable seats in separate sales for each performance of the changed shows. For example, if a show loses four seats because of a sound board, use the same seating chart that includes those seats and simply block out the seats by creating a single ticket sale and marking those seats as a comp or unavailable price code for each performance. At the end of each single ticket sale, when prompted to print the tickets, click Print the tickets and then cancel. This will make the tickets look like they printed without wasting ticket stock. Though this may seem like it takes a little more work, it will save you time when choosing tickets during a season ticket sale because Wintix will view each performance as having the same seating chart and will automatically fill the same seats for each performance if they are free.


