
(Last updated on: August 10, 2017)
IMPORTANT: After you do the backup of your data and upload it to us…
- If we are hosting and converting your database for an upgrade, do NOT use Wintix 5 or 6 on any computer until further notice from us.
- If we just need to examine your database for troubleshooting, you may continue to use Wintix.
Due to vulnerabilities in FTP, Center Stage Software is now using Dropbox for Wintix data uploads.
NOTE: These instructions are for Wintix 5 and 6. If you have Wintix 3 or 4, click here.
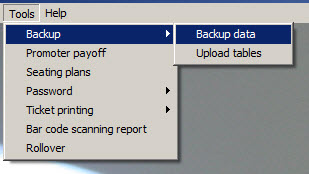
- In Wintix, go to Tools | Backup | Backup data.
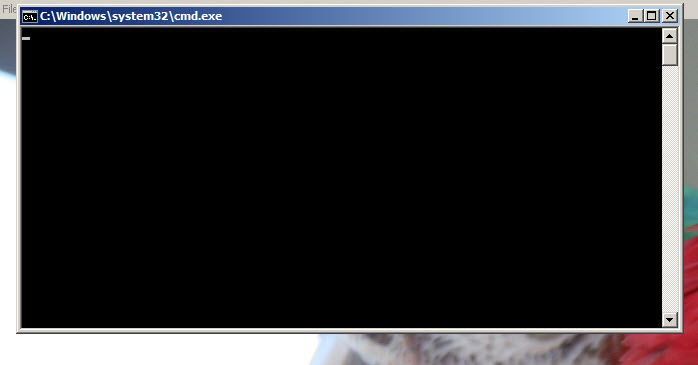
- A Command prompt window will open. Leave this open until your backup completes.
- Click on this link: https://www.dropbox.com/request/CFz6WmsqfXyrUp9jeWmU. You will see the following webpage:
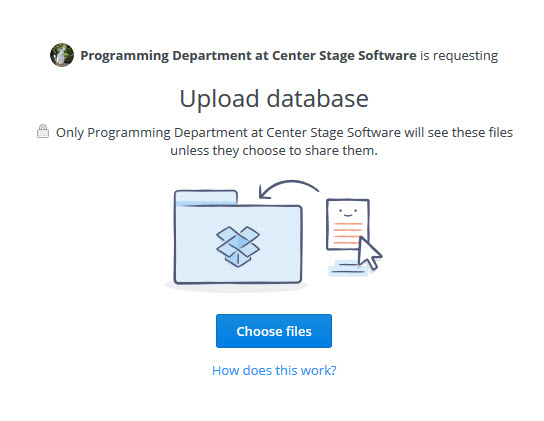
- Click the Choose files button.
- For Wintix 5, navigate to your C:/Tix7/Output folder, select your backup, and click the Open button.
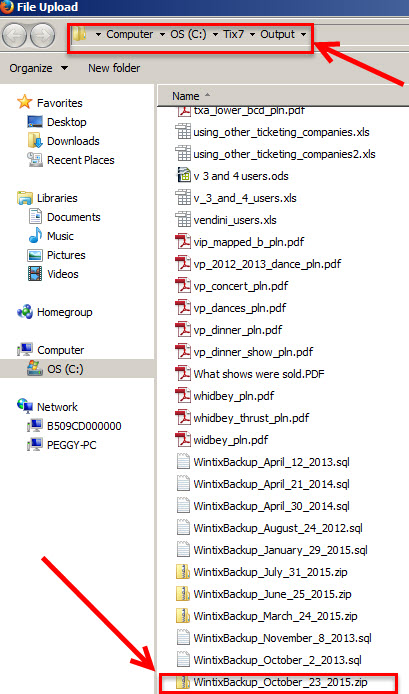
- For Wintix 6, navigate to your C:/Wintix6/Output folder, select your backup, and click the Open button.
- Once you have chosen your file, the next screen you’ll see is this:

- Enter your name and email address, then click the Upload button.
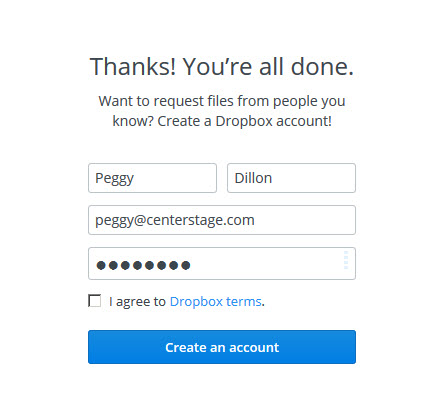
- Once your upload is complete, you will see the message below and we will receive notice that we have your uploaded data.
IMPORTANT: After you do the backup of your data and upload it to us, do NOT use Wintix 5 or 6 on any computer until further notice from us.