(Last updated on: October 21, 2016)
Occasionally, the location of the wheelchair and companion seats may change in a venue and the seating plan needs to be updated. Sometimes this happens while tickets are being sold for a show that uses this plan, so there are a few steps you need to do to ensure your seating plan is accurate.
In the seating plan, you need to indicate where those seats are now located.
First, change the seat status in your plan.
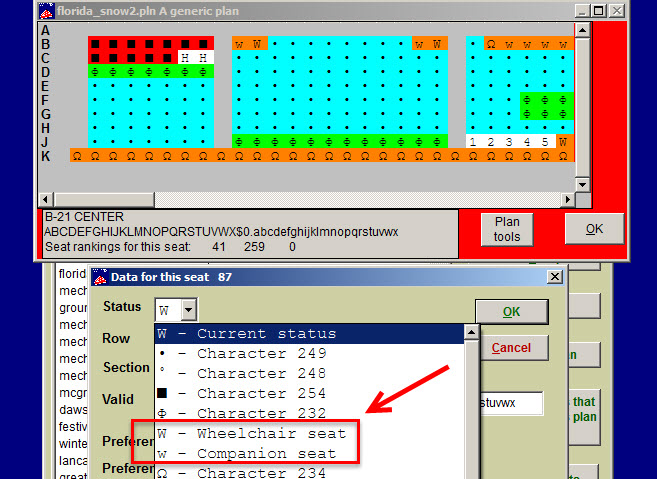
- Go to Tools | Seating plans | <Select your plan>
- Click on the seat where your new wheelchair or companion seat will be and choose either an uppercase W for a wheelchair seat or a lowercase w for a companion seat.
Because you haven’t added rows or columns to the seating plan, it will not change the dimensions of the plan. Once you change the seats in the seating plan, though, you need to update your shows based on this plan even though you have sold seats for that show.
There are two ways to update seating plans.
1. Update charts one show at a time
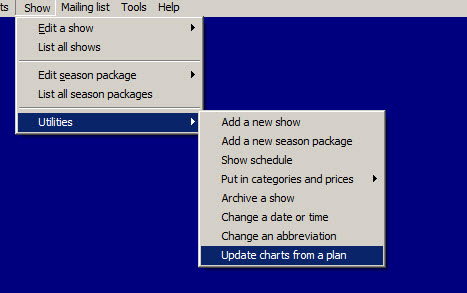
- In Wintix, go to Show | Utilities | Update charts from a plan. This enables you to update one plan for one show. This takes a bit of time depending on how many dates you have assigned to one particular show.
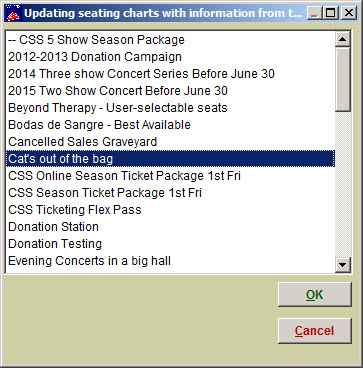
- Choose the show to which you wish to update the charts by highlighting the show, then press the OK button.
- After pressing OK, Wintix will go to work updating all charts for the one show. Your screen will look like the screen shot below. (At this point, let Wintix complete the job. You will not able to sell any tickets on your workstation during this time. Your other ticket sellers, including Webtix, will be able to continue selling tickets while your workstation is busy).
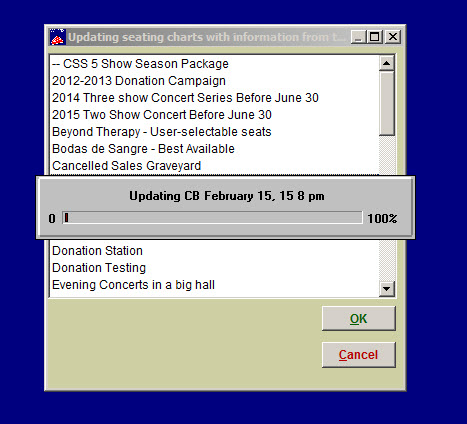
- You will also see this image at the upper right hand corner of your computer monitor showing the progress:

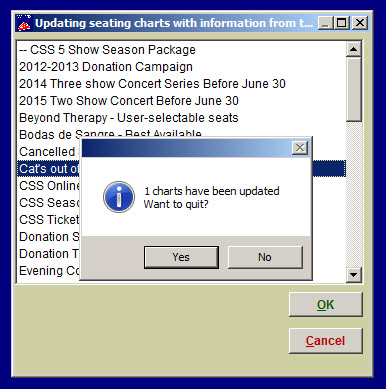
- Once Wintix has updated the charts, you will see the message in the screen shot below. Click on the Yes button if you want to go back to the main menu. Click No to choose another show to update charts.
- To check to make sure the work was done, click on Show | Edit a show | <choose the show> | <choose the date>.
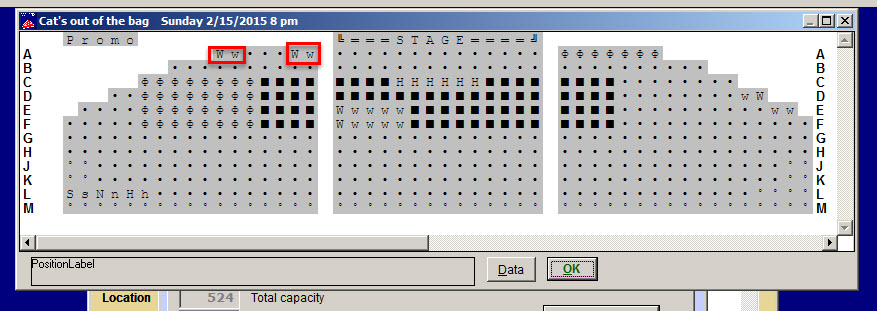
- Under the Options tab, click on the Edit chart button and the chart will display (see screen shot below). Make sure the changes that were made in the seating plan show up in the chart. In this example, the seats highlighted in red had been changed and are now appearing in the seating chart.
- Once you have checked that the seating chart is correct, click the OK buttons (there are three of them) and you will be taken back to the Wintix main menu.
2. This method enables you the choose one seating plan and Wintix will update all charts that use the specific plan.
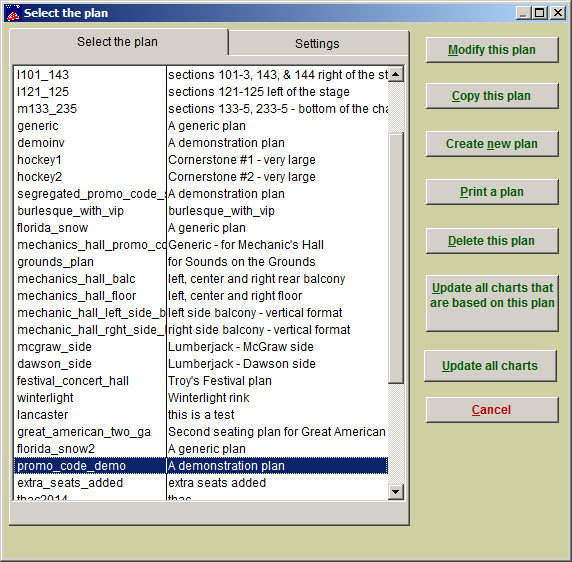
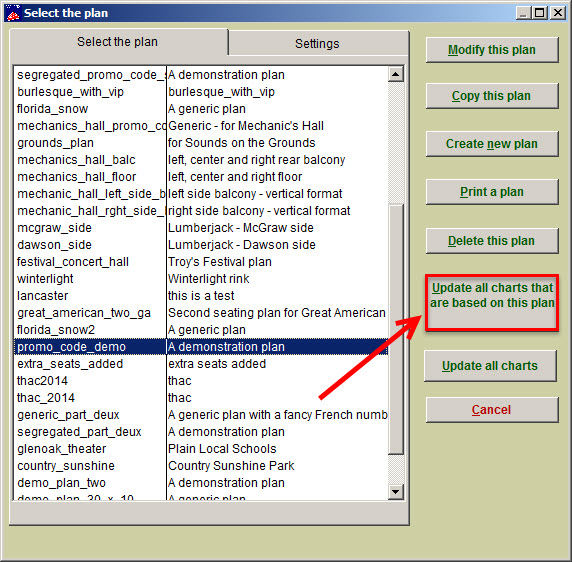
- Click on Tools | Seating plans.
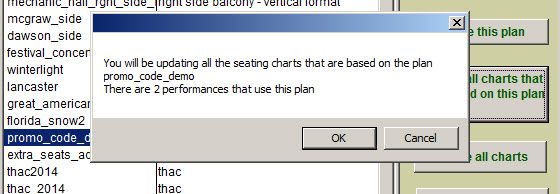
- Choose the plan you wish to use by highlighting the plan and choose the button labeled Update all charts that are based on this plan.
- This window will display after you have clicked Update all charts . . . Click the OK button for Wintix to go to work.
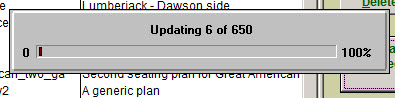
- You will see the screen below. There will be no other progress bar.
- Once the work is done, Wintix returns to the list of seating plans.