(Last updated on: September 24, 2024)
- Go to your Windows search bar and type Printers and Scanners.
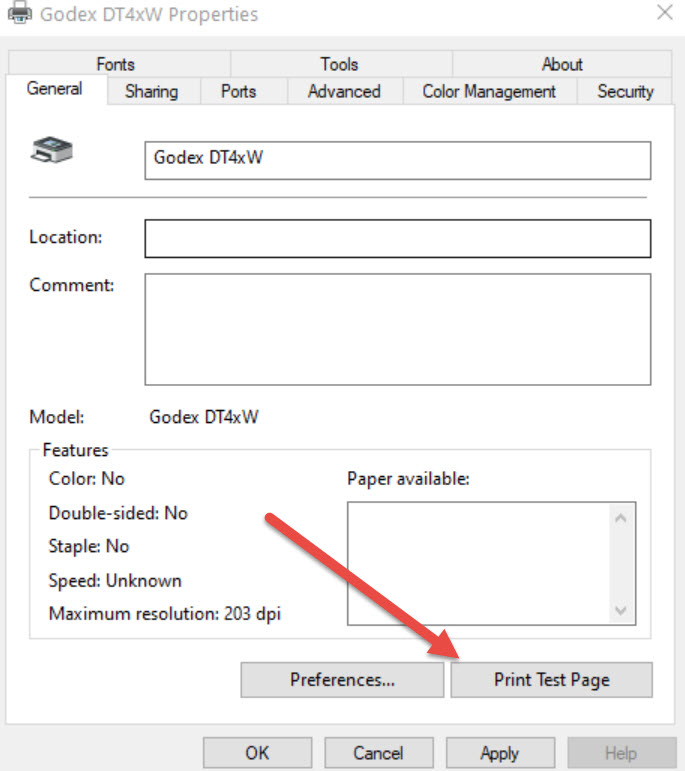
- Locate your DT4xW printer driver and select the General tab | Preferences.
- Under Page Setup, choose File labels (1.00 in x 3.00 in) from the down arrow in the Name field. (In the example below, there is a File labels 1.00 x 3.00 choice, as well as a USER 1.00 in x 3.00 in.
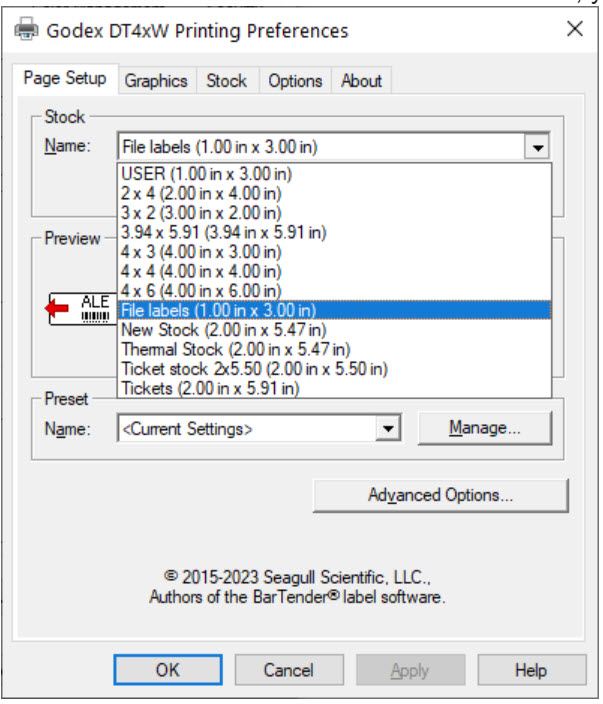
- If there are no 1 x 3 selections, you can click the New button and create a label.

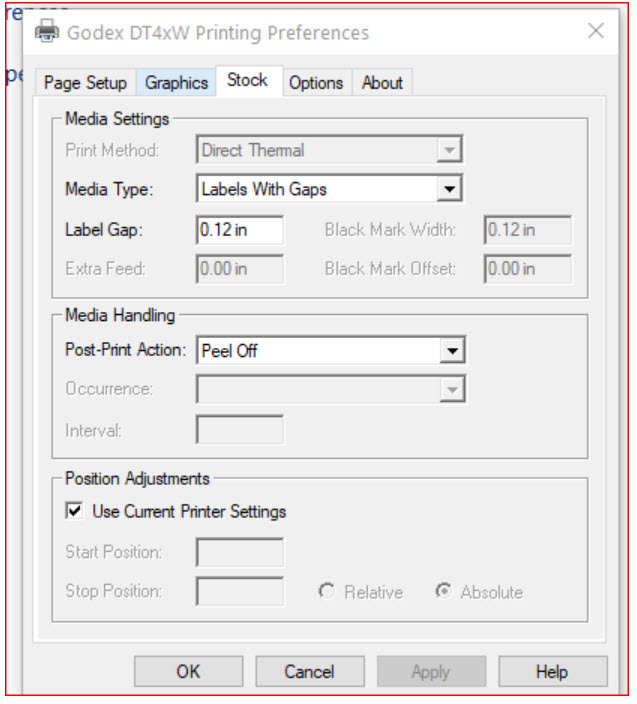
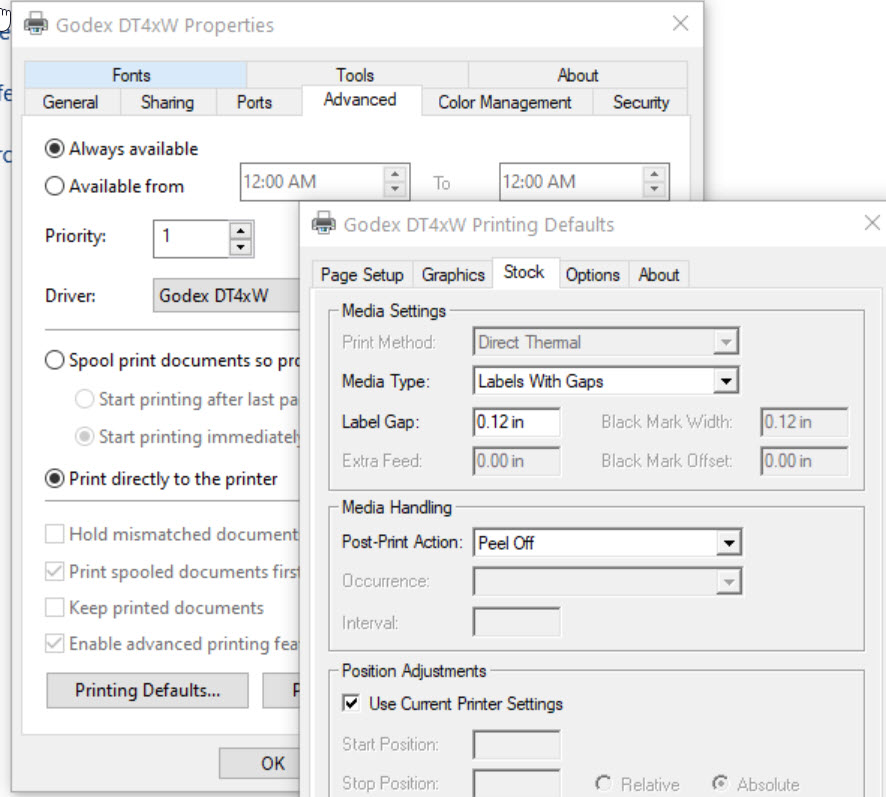
- Go to the Stock tab and configure this window as shown below.
- Make sure the media type is set to Labels with Gaps, not Continuous or Label with marks. Click OK.
- Go to the Advanced tab | Printing Defaults.
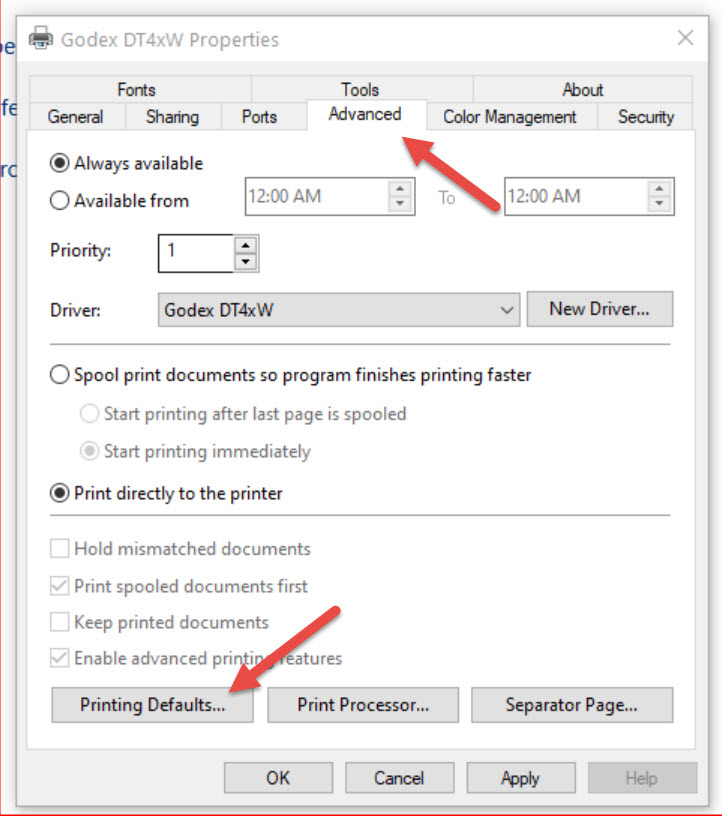
- Follow the same steps as when you were on the General tab.
- Once the settings are configured in both the General and Advanced tabs, go back to the General tab.
- Choose Print Test Page and see if you can print a test label correctly. You may need to print two or three labels to make sure the labels print correctly.