(Last updated on: September 17, 2015)
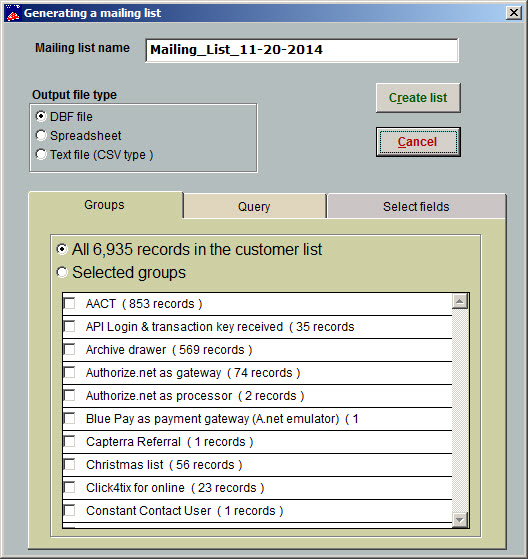
In Wintix, click on Mailing list | Generate a mailing list | Generate a new list. It should look like this:
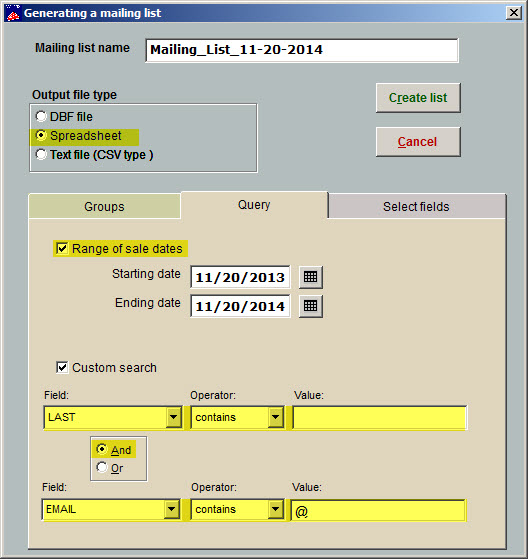
- Next, click on the Query tab.
- Choose Output file type = Spreadsheet
- Check the box labeled Range of sale dates and input the date range. For this example, we input one year.
- Click on the Custom search check box.
- Under Field, choose Last.
- Under Operator choose Contains and leave the Value field blank
- Choose the radio button And.
- Under the second Field, choose Email.
- Under Operator, choose Contains and input the @ sign under the Value field. See screen shot below:
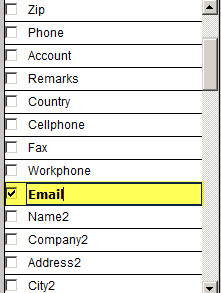
- Next, click on the Select fields tab.
- Choose the radio button Email list under Type of file to create. Wintix will automatically choose the following fields: Last, First, Account and Email. Uncheck the box labeled Account. See screen shot below:

You’re ready to create the list, so click on the Create list button:
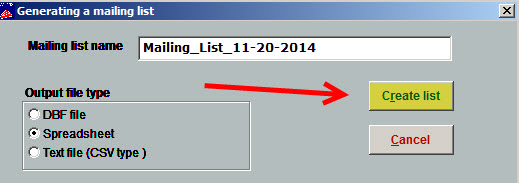
Wintix automatically saves your file here: C:\Tix7\Output. However, when you click on Create list, your spreadsheet program will open your new file called Mailing_List_XX-XX-20XX
![]()
Note: you can rename this list if you like. See screen shot above and under the Mailing list name field you can overwrite what Wintix automatically populates.
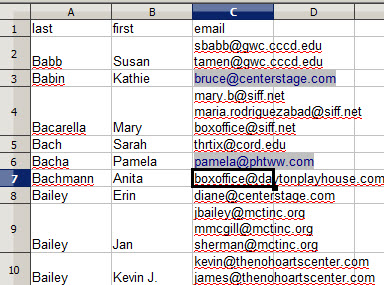
Your email list will look something like this: