
Download the printer driver here.
- Now that you have downloaded the driver, follow these instructions to set up the driver. To set up your printer to print thermal labels, make the following changes in the Seagull driver. This requires Administrator logon to the PC.
- Use your Internet Explorer to search for Devices and printers. In the screen shot below, you’ll see GoDEX RT200i #2. Your screen may or may not have the #2 designation.
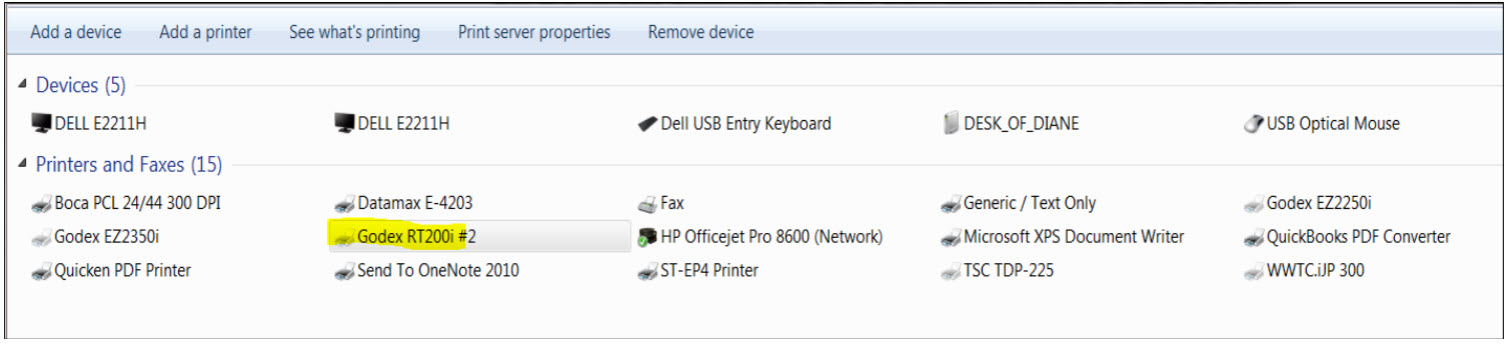
- Right click on the GoDEX printer icon and choose Printing Preferences. This is what you’ll see.
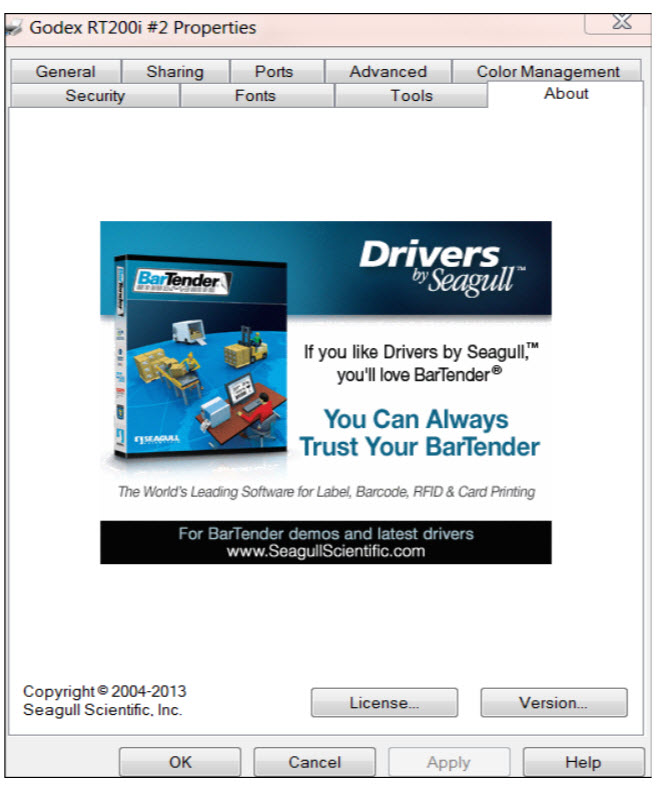
- Click on the General tab, then the Preferences button.
- Click on the Page Setup tab, then click on the New button and create a new stock.
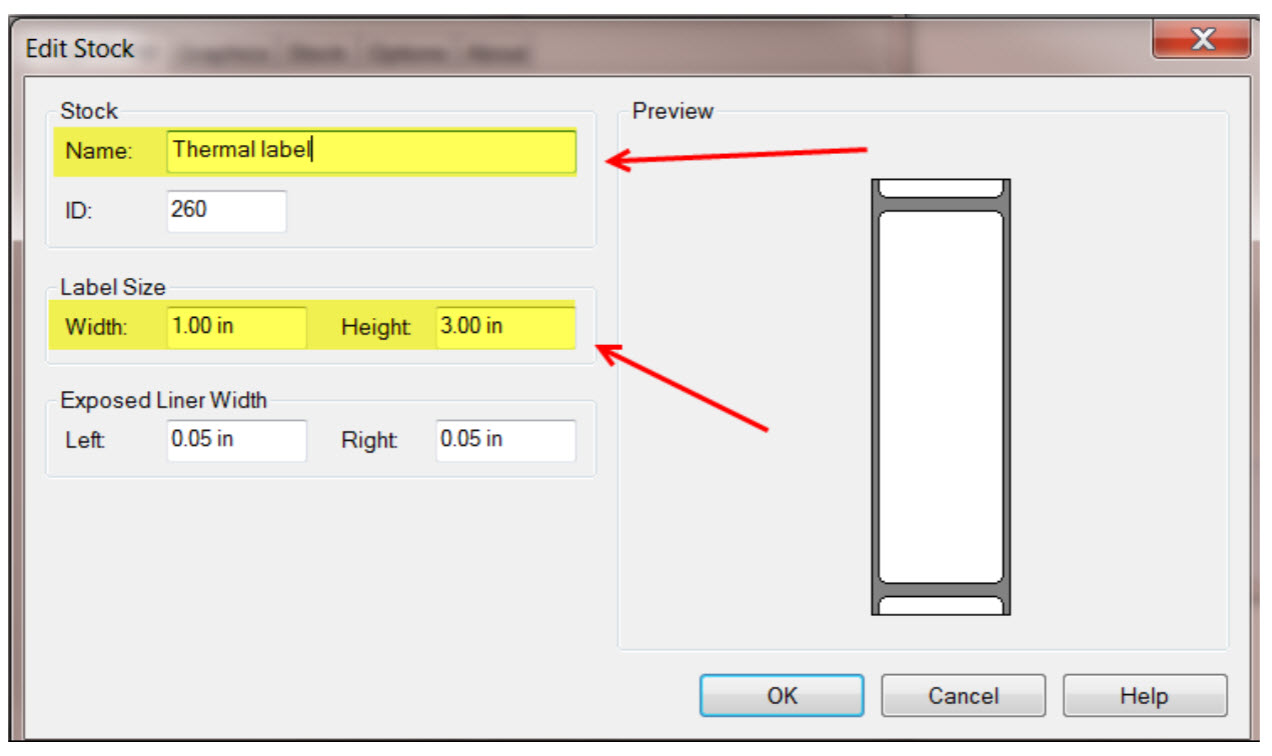
- Type in “Thermal label” like shown above.
- For this example, we have typed in 1.00 in for the width, and 3.00 in for the height, but
you can type in any dimension of label you are using. - Click OK.
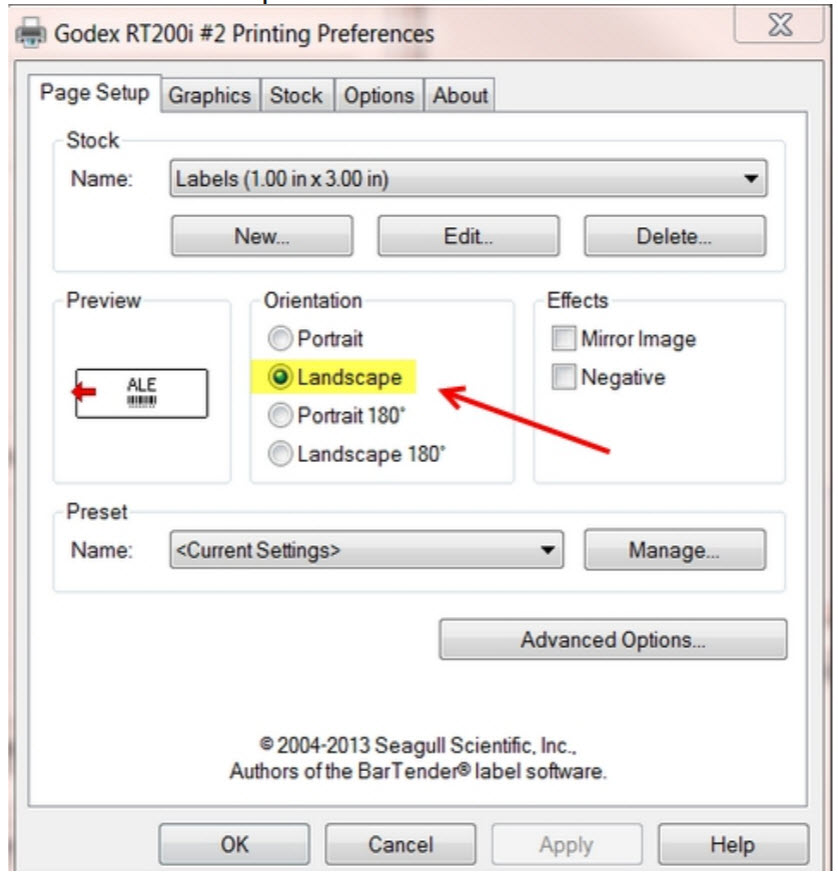
- You are now back at the Page Setup screen.
- Choose the Landscape radio button.
- Click on the Stock tab.
- Make the following changes, if necessary. See screen shot below:
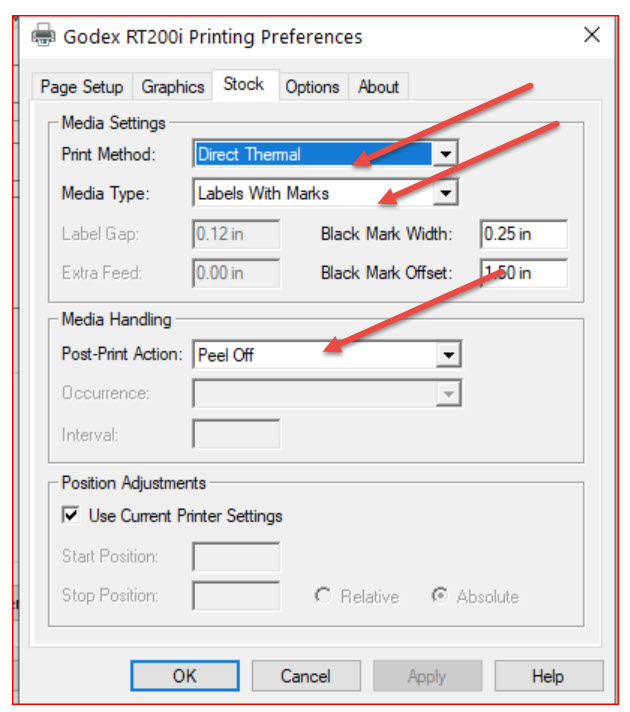
- Click on the Apply and OK buttons.
- Go to Driver properties | Advanced tab | Printing defaults.
- Repeat the steps explained above.
Loading labels
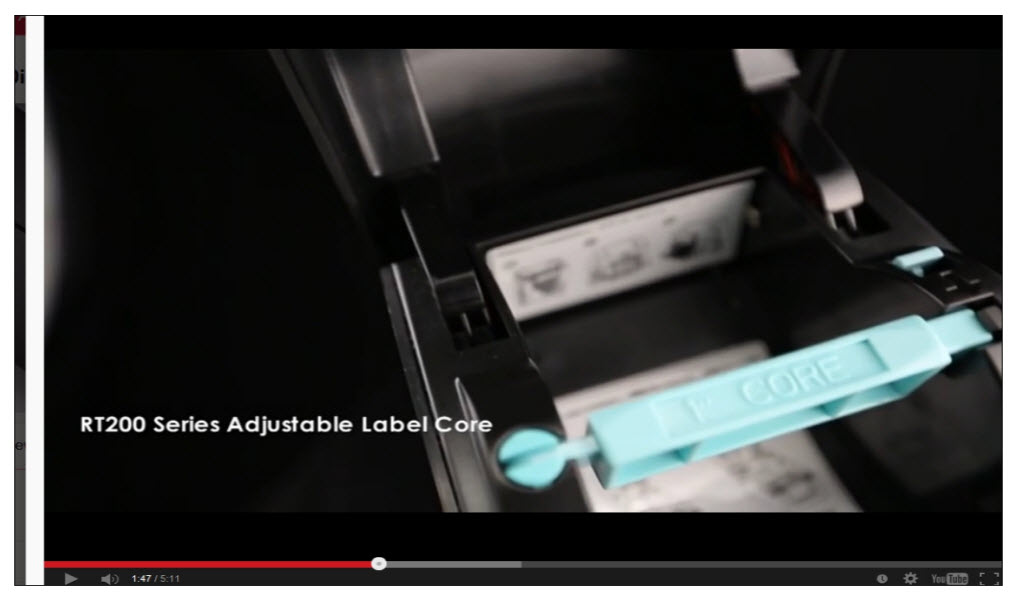
Here is a video link showing how to load the labels into the printer.
• Fast forward to 1:48 and view until 2:37. See screen shot below:
- After loading in the label stock as explained in the video, lock the mechanism in place with a bit of label tail hanging out, close the cover and you’re done.