
http://www.authorize.net/videos/
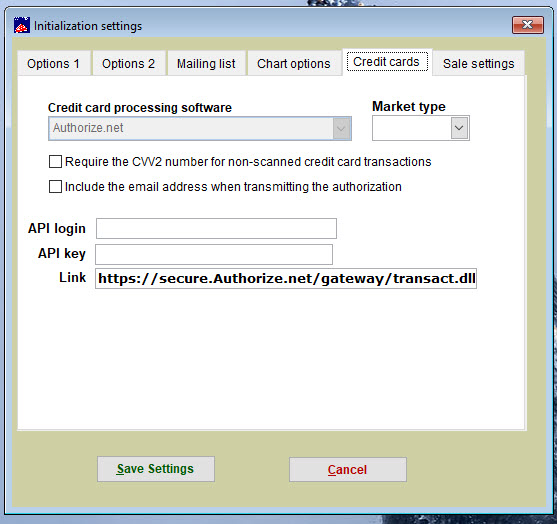
To set up Authorize.net in Wintix, you need to have a login and key, plus the https link. This information gets fed in the Wintix Initialization menu. While in Wintix, click on File | Initialization | Credit card options.
You will see there are three fields:
- API login (this is the API login that is needed for Authorize.net)
- API key (this is the API transaction key that is needed for Authorize.net)
- Link (the url that begins with https. . . This has to be correct so that Wintix will know which secure website is to be connected.)
For both your in-house credit card transactions and for your online ticketing with Webtix, the API login and key have to be absolutely correct. The key and login are generated by Authorize.net.
PLEASE NOTE: If at any time, you generate a new transaction key in Authorize.net, this information HAS to be input into the Initialization menu in Wintix and you need to contact Center Stage Software so we can input the new key into Webtix’s backend in order for the credit card transactions to go through.