
NOTE: After installing Wintix, make sure to run an update. (See instructions at the end of this post.)
- Download the Wintix 6 Setup by clicking the following link: https://www.dropbox.com/s/5wicedqnk43l6op/Wintix6Setup.exe?dl=0
- Run the Wintix6setup.exe.
- Install it to C:\Wintix6.
- This will create a folder on your local C drive called Wintix6.
- Run the mysql-connector-odbc-5.1.8-(win32 or win64).msi.
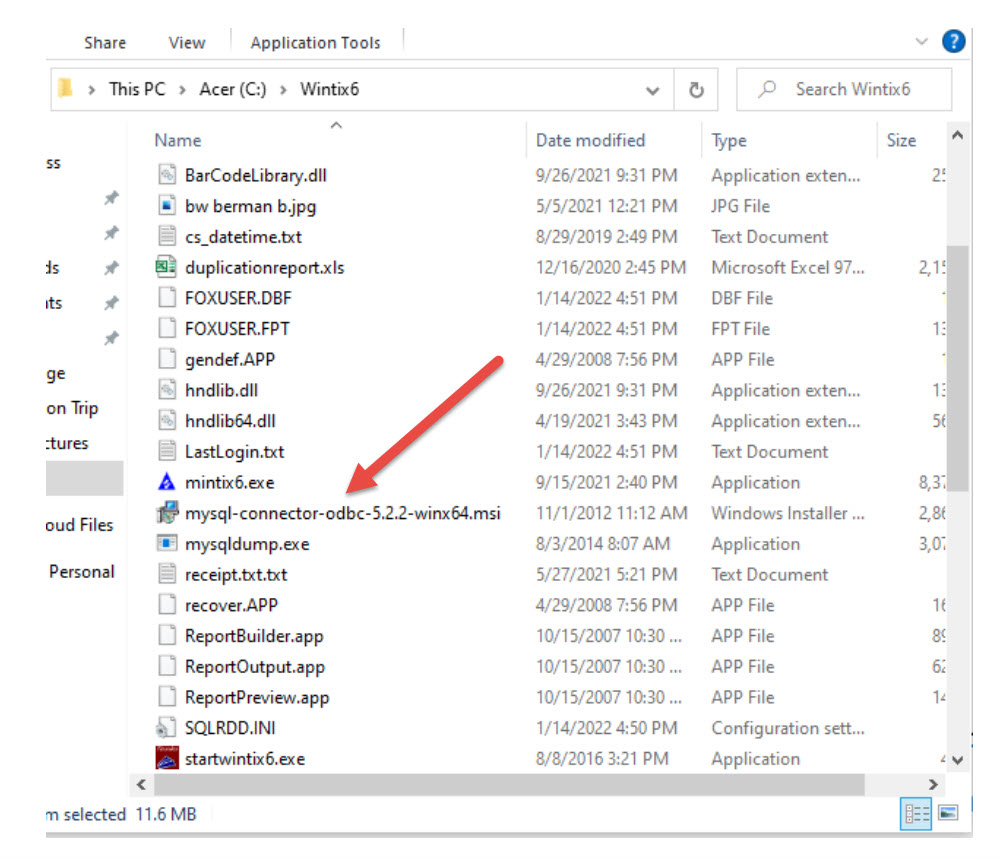
- Choose the Typical setup.
- Click Next.
- Click Install.
- Click Finish.
- Inside the Wintix 6 folder is a file called SQLRDD, which is an .ini file. That is the file you will need to edit by entering in your log-in credentials which will allow you to connect Wintix to your database.
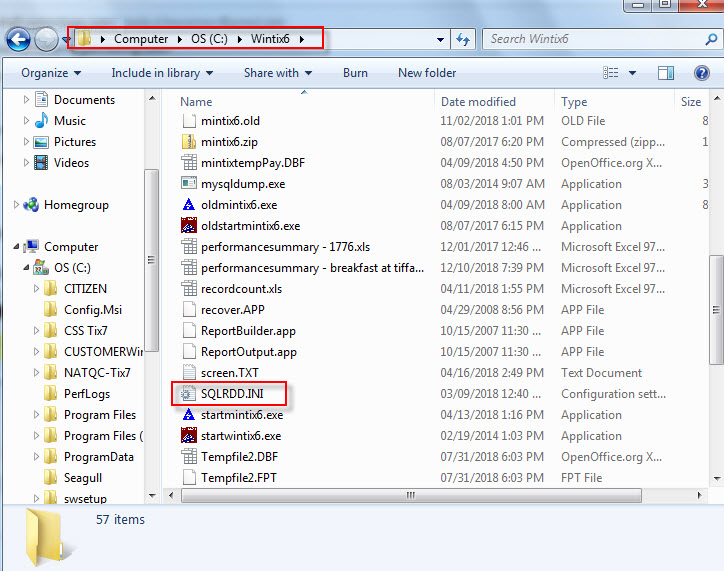
- If you double click on the file SQLRDD, it will open in Notepad.
- The information in the file will look like this:
- ConnString=MySQL=data.centerstageticketing.com;UID=user;PWD=jtG79WX;DTB=databasename.
- Here is an example of how it looks.

- Once you’ve made the changes, close the file.
- It will ask you if you want to save the changes.
- Say yes.
- Double click the Wintix6 icon on your desktop to connect to your Wintix database.
- To be sure you have the latest update (build) for Wintix, click on ‘Download update’ and follow the prompts. If you see a message DynaZip Unzip warning – a file already exists, do you want to overwrite it?, click Yes to all.