How to force the entry of a customer name when selling tickets
(Last Updated On: December 16, 2014)
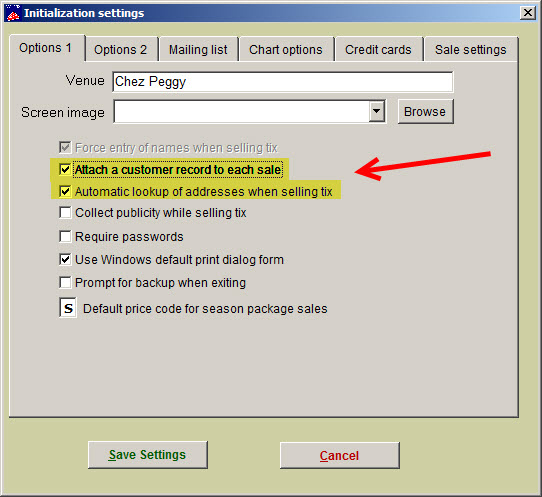
- In Wintix, go to File | Initialization | Options 1 tab
- Click on the check box labeled Attach a customer record to each sale
- Click on the check box labeled Automatic lookup of addresses when selling tix
- Click on the Save settings button
- When you start to do a regular sale, this window will appear:
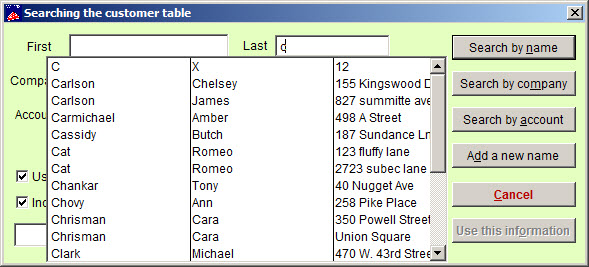
- Enter the last name of the customer. You will see a list of customers. Once the name is highlighted, double click the highlighted name and the record will appear. See below:
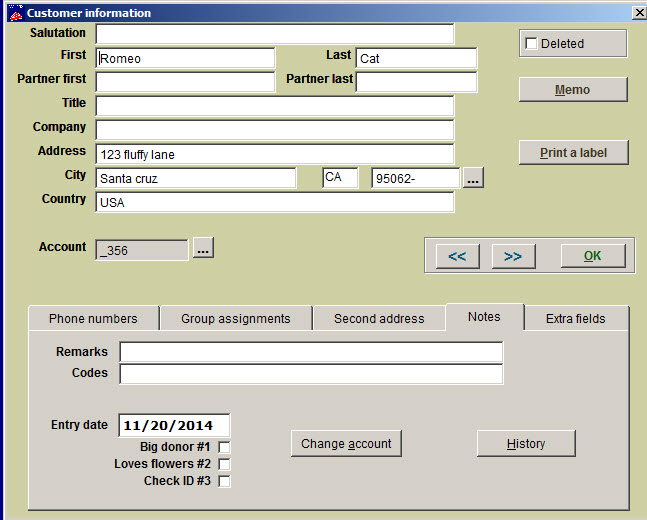
- If this is the correct record, click the OK button and this window will appear:
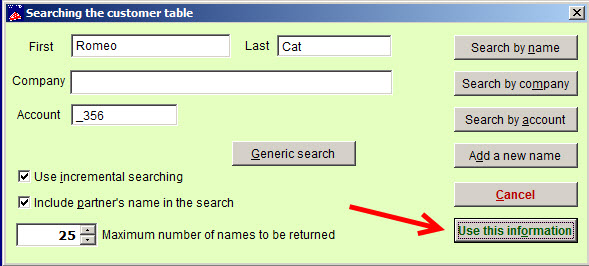
- Click on Use this information and Wintix will then take you to the Selling a ticket window.
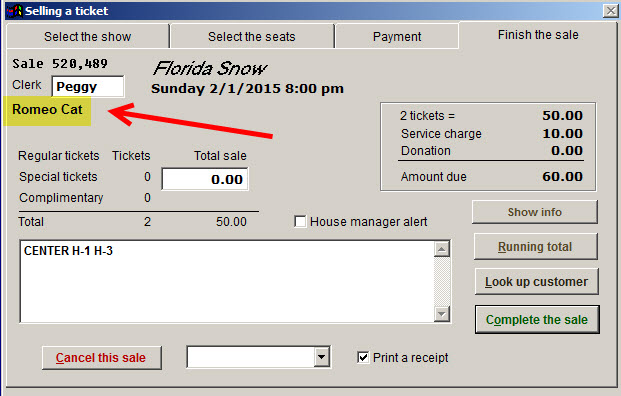
- Complete the sale. When you get to the Finish the sale tab, the customer’s name will appear below the Clerk field.
This entry was posted in
Desktop Software,
Wintix5 and tagged
tutorial. Bookmark the
permalink.
