
Note:
If you are planning on using bar coded tickets with Scantix, we recommend 2D barcodes (QR bar codes or Datamatrix). You can read more about putting QR codes on your tickets here. An even better alternative is to use the built in printer fonts. If you have a GoDEX, Datamax or Zebra, these fonts are built in (check the manual). They are much better than these Windows fonts.
* * * * * * * * * * * * * * * * * * * * * * * * * * * * * * * * * * * * * * * * * * * * * * * * *
However, a lot of organizations want to put bar codes on tickets because it looks good. That’s fine with us.
The best free font we have found is 39, also known as 3 of 9. You can find it here: http://www.barcoderesource.com/products/ConnectCodeTrialSetup.exe
This font works with smaller sizes (as small as 10 point). If your printer does not have built-in fonts (as in a laser printer), this works.
When you click on the link above, the Opening ConnectCodeTrialSetup.exe window will appear.
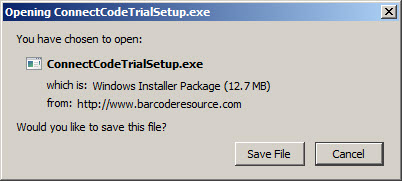
- Click Save file.
- Save it to your Tix7 folder.
- Click Okay that you want the program to make changes to your computer. It will then open the ConnectCode Trial Setup Wizard.
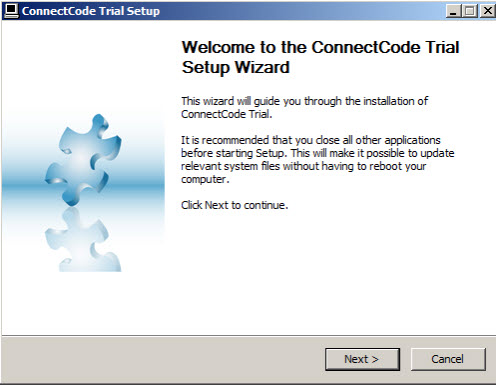
- Click Next and accept the license agreement.
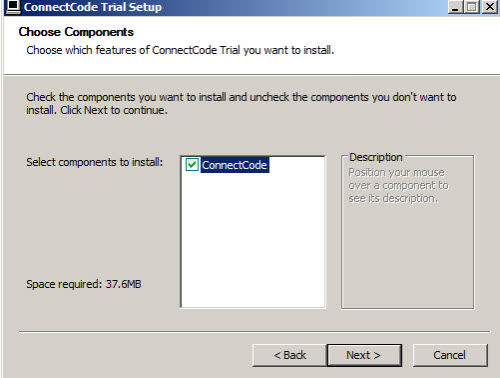
- When the Choose components window appears, click Next.
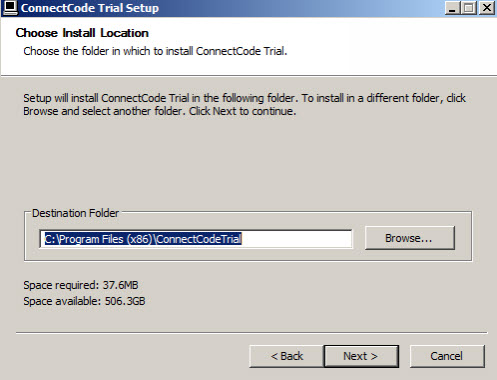
- Choose your destination folder, then click Next.
- It will then ask you if you want to create a shortcut. In this example, we will check the box Do not create shortcuts.
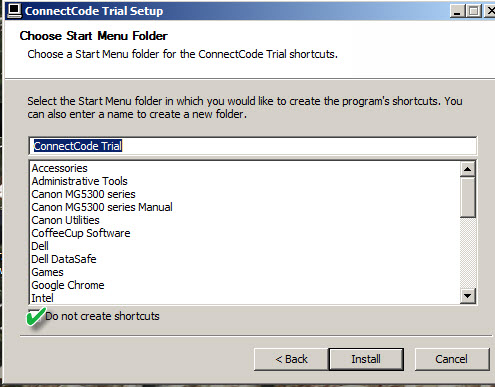
- Click Install.
- During the installation process, another window will appear asking if you want the installer to copy and set up the barcode fonts automatically.
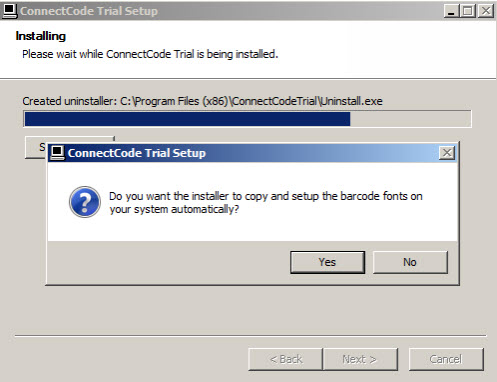
- Click No.
- The wizard will finish the installation. Make sure Launch ConnectCode Barcode Font Encoder is checked and click Finish.
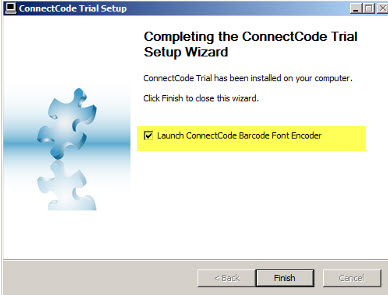
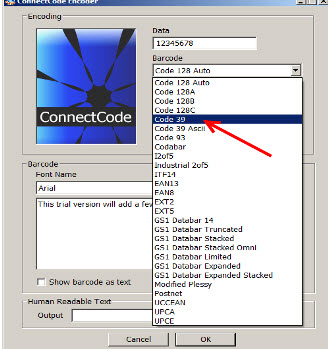
- The ConnectCode Barcode Font Encoder will launch.
- In the Barcode dropdown, select Code 39 and click OK.
- Now, open Wintix and go to File | Ticket setup.
- Click on Windows printer set up, the Label Designer will appear.
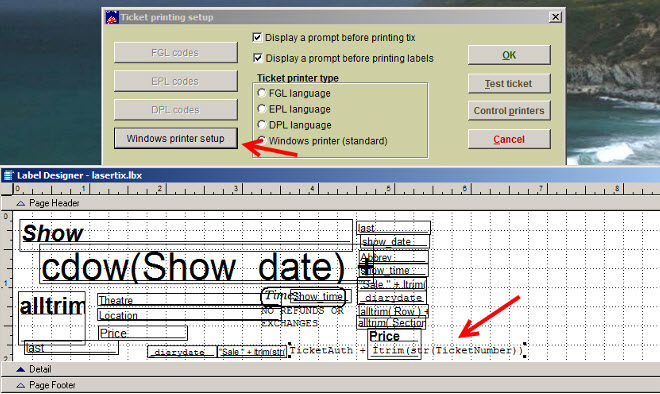
- If you have the variable TicketAuth + ltrim(str(TicketNumber)) double click on it. If not, select another variable, hold down CTL+C to copy, then CTL+V to paste it. Move the variable where you want it, then double click it to add TicketAuth + ltrim(str(TicketNumber)) in the Expression field on the General tab.
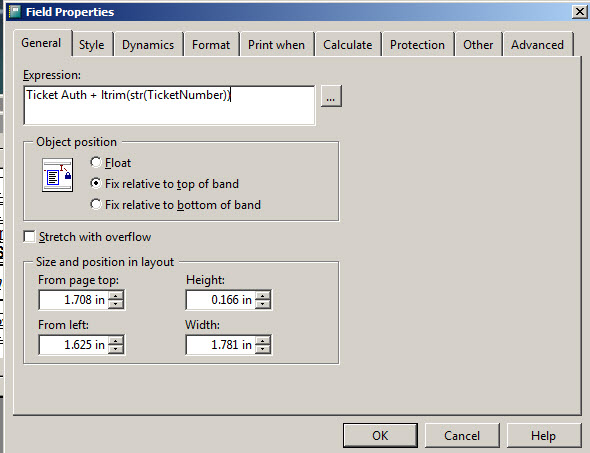
- Click on the Style tab.
- Click on the ellipsis to the right of the Font field and find Ccode39_S3_Trial and click OK.
