If you need to transfer Wintix data to a new computer, please be aware that this is a somewhat complicated process and we can do this for you for a nominal fee (contact our Support Department: 831-920-1254 or support@centerstage.com).
Otherwise follow the instructions below to transfer the data.
Then, after that are two sets of instructions for adding users:
- The first is is for creating a user that can ONLY log in from the local host computer.
- The second is how to add a user that can log on from ANY computer on their network.
You will need to do a backup in Wintix. After the backup is done, do not use Wintix again until the computers have been changed out and Wintix reloaded.
When the new computers are installed, you will need to:
- Re-install the mysql server, with SPECIFIC configuration requirements:
- Install the trial version of Navicat. You can get it from Navicat.com
- Create a tix7 database and add users/grant permissions:
- Open Navicat.
- Click on Connection/Mysql.
- Connection Name: localhost
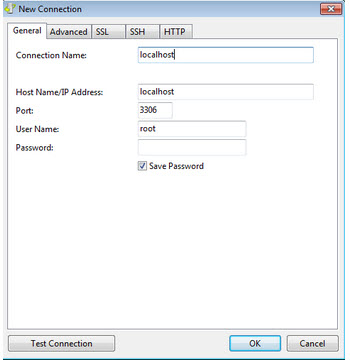
- Click Test Connection. You should see a message Connection successful.
- If you do not, you will need to call the support line (831.920.1254) for assistance.
- You will now have a window with a split screen.
- On the left, you will see the connection you created named localhost.
- Double click on the localhost connection to open the connection.
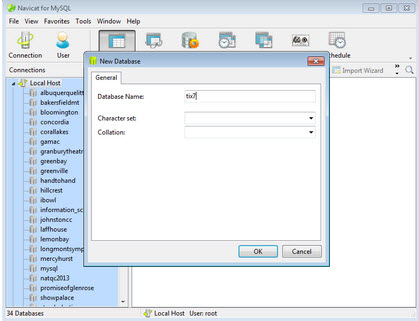
- Now, right click on localhost again.
- Click on New Database.
- Type tix7 in the Database Name.
- Click OK.
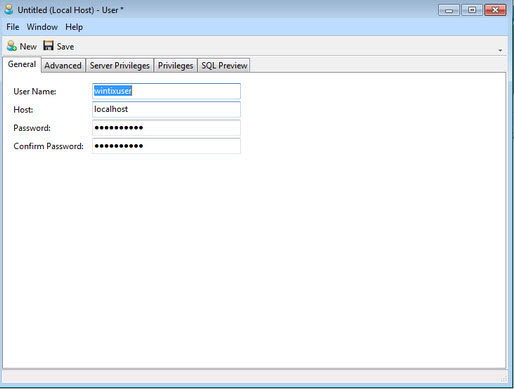
This is for “wintixuser” to log on ONLY on the localhost computer
- Now click on User.
- Click New user.
- User name = wintixuser
- Host = localhost
- Password = wintixuser
- Confirm Password = wintixuser
- Click Save.
- Using Navicat, you will need to grant the user named wintixuser all privileges to the tix7 database.
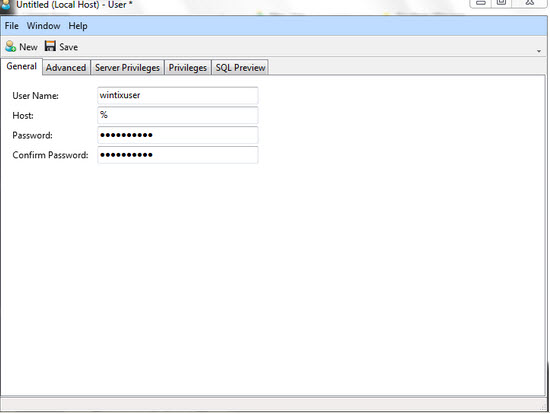
Here are instructions on how to add the user “wintixuser” that can log on from ANY computer on their network:
- Now click on User.
- Click New user.
- User name = wintixuser
- Host = %
- Password = wintixuser
- Confirm Password = wintixuser
- Click Save.