
First, set up clerk names and assign passwords:
- Go to Tools | Password | Edit the list of users.
- You will be prompted to log in as “sysadm”.
- The default password for user: sysadm is also “sysadm”. “Sysadm” is a security hole. You need to change it to a more secure password of at least eight characters including numbers and letters.
- NOTE: If the user name “sysadm” and password “sysadm” do not work, then someone has changed the default password for the user sysadm.
- You will need that password to proceed to the next step.
- A window Clerks, passwords and permissions will display.
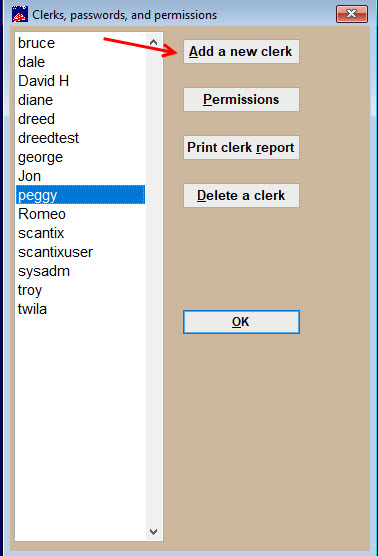
- Click on Add a New Clerk and follow the prompts to set the password and permissions.
- Leave Domain blank.

- Permissions are not transferable between clerks. The best way is to check the box marked Copy the permissions from another clerk and give them to the other clerk.
- To check and edit permissions, highlight a clerk and click the Permissions button.
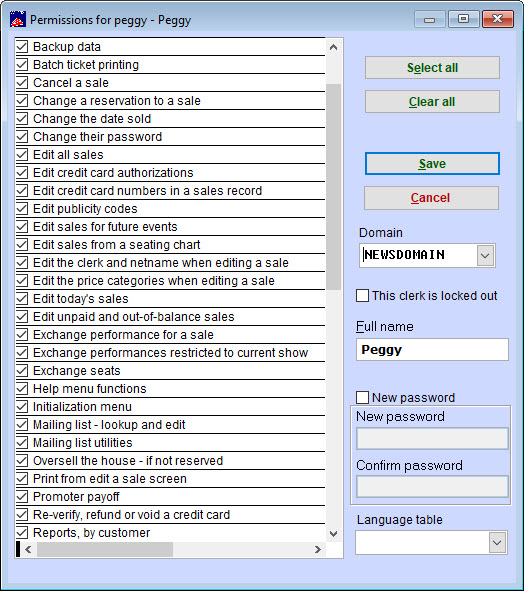
- You may now edit which permissions each clerk has.
To turn on the password feature in Wintix, so each time Wintix is opened, a user name and password will be required:
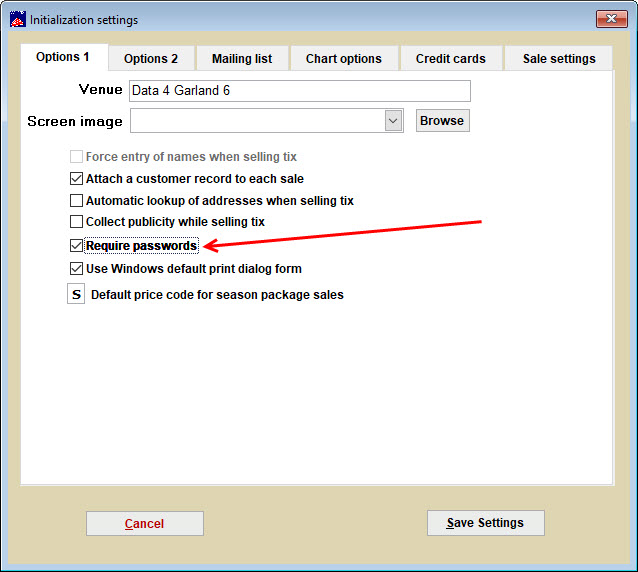
- Go to File | Initialization | Options 1 tab.
- Make sure the box labeled Require passwords is checked.
- When you close Wintix and re-open it, you will be required to enter a user name and password.
- The clerk’s login name will appear on all sales records they created. Also, if a sales record is edited, the clerk’s name, who did the editing, will appear in the audit trail for that sale record. (Sales | Sales Record | Bring up a sale record | Other information tab | Audit Trail and a history of the sale will come up.)
Warning: Do not turn passwords on in the Initialization menu until you give
yourself permission to turn them off.
If this should happen to you during your initial setup, the procedure to fix
it is as follows (we will assume you have not changed the Sysadm
password yet):
- Get into the program by entering your name as ‘Sysadm’ and the
password as ‘sysadm.’ - Click on Tools | Password | Edit the list of users. Again, enter your
name as ‘Sysadm’ and the password as ‘sysadm.’ - Add yourself as a new user and give yourself permissions to turn the passwords
off. Close the window. - Click on Tools | Password | Login as a new user. Login as yourself.
- Now, you have permission to turn off the passwords.
Learn how to schedule reports to be sent to promoters and others through Webtix.